...
Once you have logged in, visit the Security Credentials section.
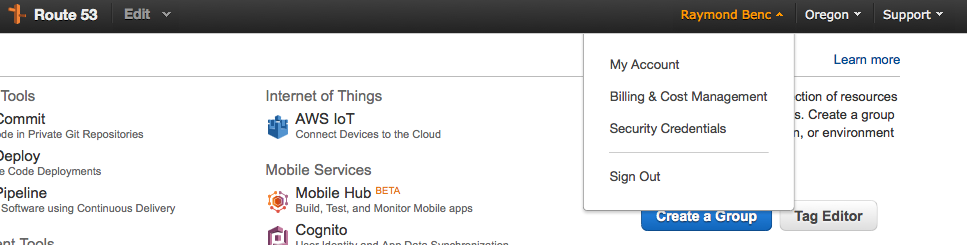
Amazon Access Keys
If you don't have Amazon access keys already set up, you need to click Access Keys (Access Key ID and Secret Access Key), this will open up
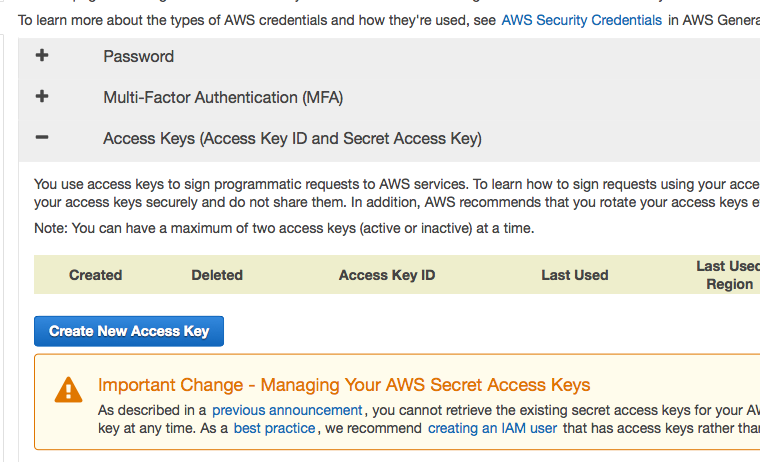
Once you click the Create New Access Key button, you will get a popup where you can download your access keys. You can also click on Show Access Key. Keep this information in a safe place.
...
Next we need a bucket to store any videos uploaded to your site. From your Amazon Console, click on Services and look for and click on S3.
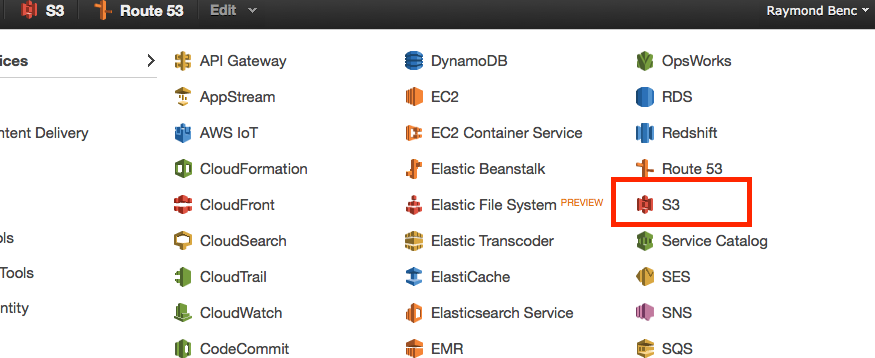
If this is your first time creating a bucket, you will see a welcome back with a button to Create Bucket. Click on this button to get things started.

Once you have clicked this button you will get a popup where you can enter a Bucket Name. You need to enter something unique.
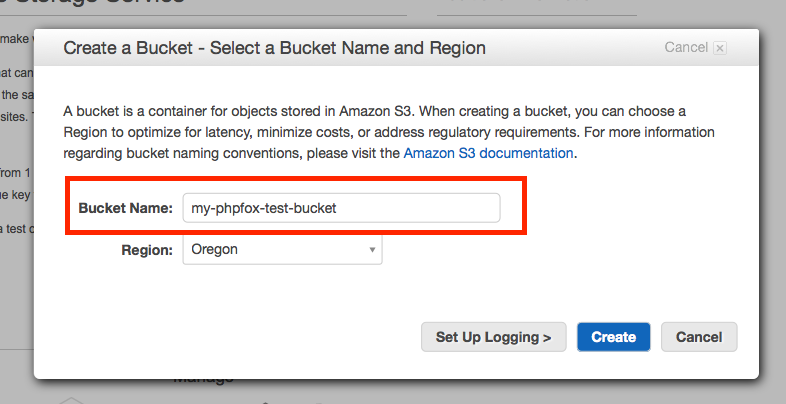
Once you have successfully created a bucket, save the name you just used for your bucket and log back into your AdminCP.
Bucket Policy
With your bucket created you know need to give Zencoder access to your bucket so they can upload files that have been encoded. To do this click on your new bucket and then click Properties. Then click on Permissions.

We are looking for the Edit bucket policy link. Click on that to get a popup where you can enter your policy. Here is a sample policy
| Code Block |
|---|
{  "Version": "2008-10-17",
  "Id": "ZencoderBucketPolicy",
  "Statement": [
    {
      "Sid": "Stmt1295042087538",
      "Effect": "Allow",
      "Principal": {
        "AWS": "arn:aws:iam::395540211253:root"
      },
      "Action": [
        "s3:GetObjectAcl",
        "s3:GetObject",
        "s3:PutObjectAcl",
        "s3:PutObject",
        "s3:ListMultipartUploadParts"
      ],
      "Resource": "arn:aws:s3:::MY-BUCKET/*"
    },
    {
      "Sid": "Stmt1295042087538",
      "Effect": "Allow",
      "Principal": {
        "AWS": "arn:aws:iam::395540211253:root"
      },
      "Action": [
        "s3:ListBucketMultipartUploads",
        "s3:GetBucketLocation"
      ],
      "Resource": "arn:aws:s3:::MY-BUCKET"
    }
  ]
} |
Before Pasting: You need to change the words MY-BUCKET with the name of the bucket you just created. Once you have done that paste it into the bucket policy editor and hit Save.
Updating App Settings
Now that we have all the details we need to enable our app. Navigate to Apps > Videos and for the setting Amazon S3 Bucket enter the bucket name. For the setting Provide the S3, CloudFront or Custom URL you can enter the default S3 URL with the bucket name after it. So in this example, we created a bucket called my-phpfox-test-bucket. So for the URL setting we enter
...