...
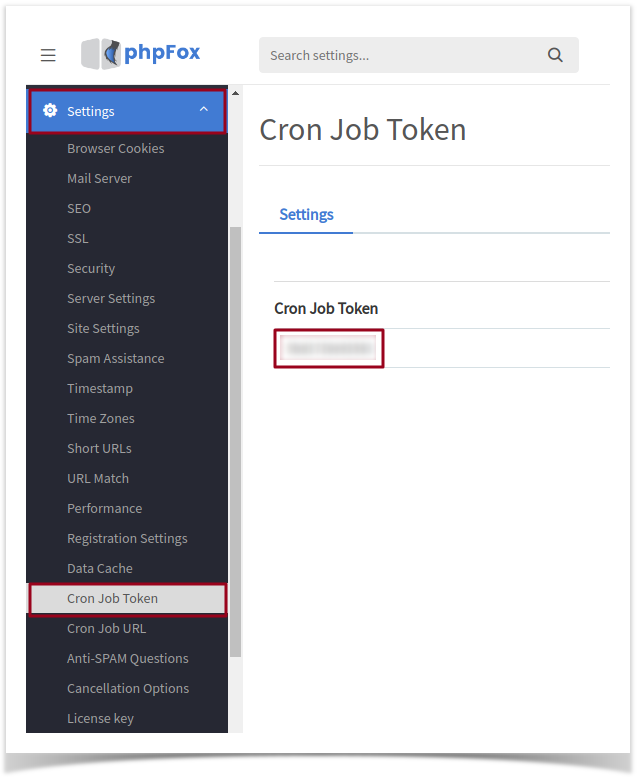
1. Log into AdminCP, select Cronjob Token from Settings menu.
Token is like the password for your cronjob, you have to have the correct token on cronjob URL so you can execute the cronjob. Here you can set up the token for yourself, enter any phrase you want to set as token and git Save Changes.

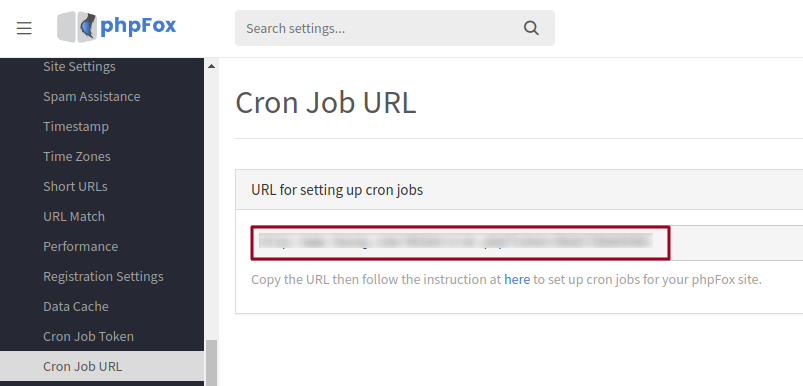
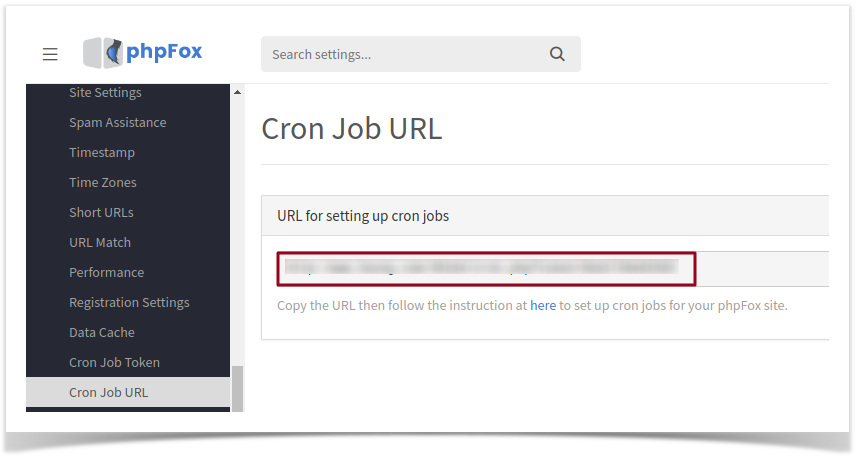
2. Select Cronjob URL from Settings menu, you now will obtain your site's cronjob URL with a pre-defined token from the first step.
| Info |
|---|
The Cron URL with token will be in format: https://<your-domain>/cron.php?token=<your-defined-token> |
...
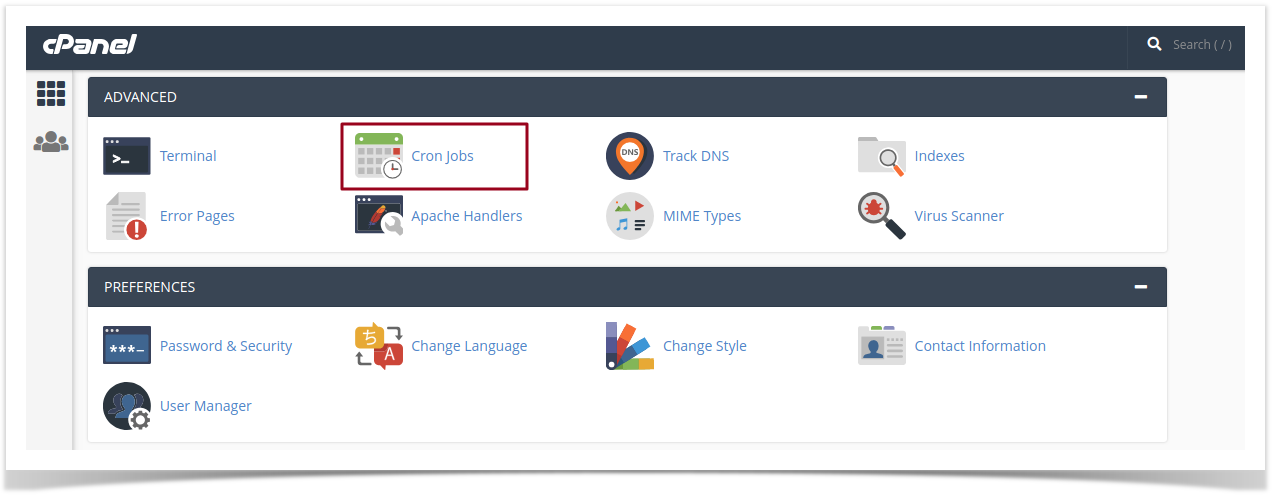
- Step 1: To access the Cron Jobs Menu, click on the corresponding icon located on the main screen of your cPanel interface.

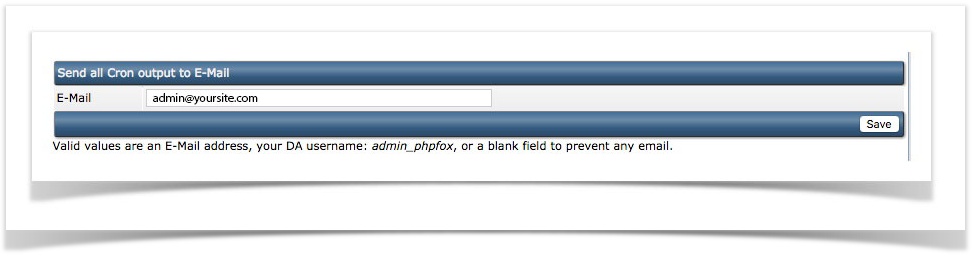
- Step 2 (Optional): Enter the email address where the cron output will be sent to in the corresponding field.
...
- Step 3: Enter the command "curl -s https://<your-domain>/cron.php?token=<your-defined-token>" in the blank field next to the Command field.
(https://<your-domain>/cron.php?token=<your-defined-token> is the URL we received in the first part)
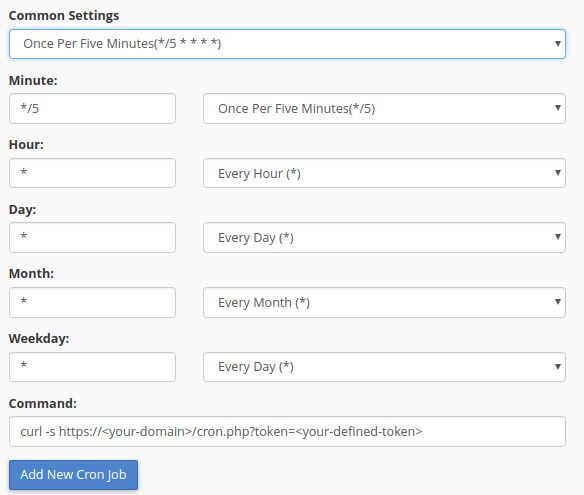
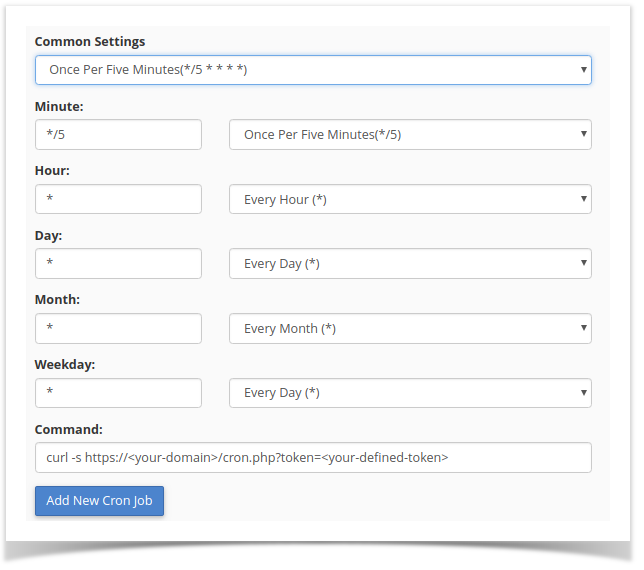
- Step 4: Select how often you wish the command to be run by selecting an option in each of the boxes or by selecting a predefined period from the Common Settings drop-down menu. We suggest running the cron job every 5 minutes.

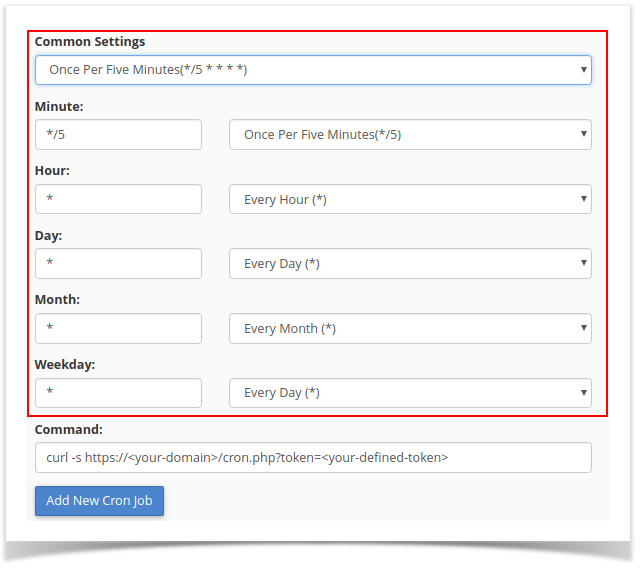
Step 5: Click on Add New Cron Job to save your changes and set up your cron job.
Note title Note This instruction is just available for cPanel version 56. For other versions please visit the cPanel Cron Job Document to get more information.
...
- Step 2: Configure cron job: execute the command "curl -s https://<your-domain>/cron.php?token=<your-defined-token>" every 5 minutes
(https://<your-domain>/cron.php?token=<your-defined-token> is the URL we received in first part).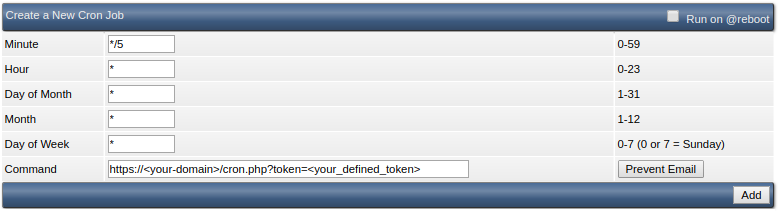
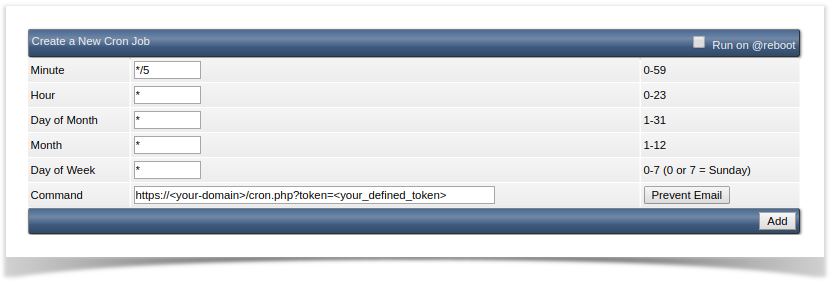
- Step 3: Click on "Add" button to add the phpFox cron job.
- Step 4 (Optional): Set up the email address to receive the cron output.

Set up with Command line (Linux server)
...