...
Once you have uploaded all the files/folders. You need to grant full read/write access (usually 0777) to the following 2 folders:
- PF.Base/
- PF.Site/

Note: Do not check "Recurse into subdirectories"
...
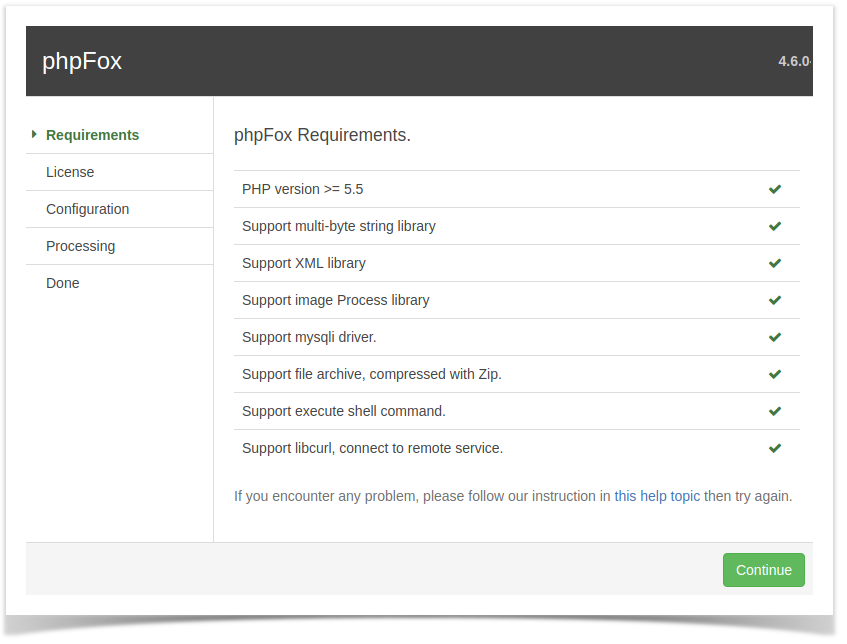
Now, you will need to open the browser with your domain (For example http://domainsite.com) to start the installation script. In the first step, the system will check all the requirements in order to run the script. You can see check (√) signs when if passed and (X) if your system doesn't meet the requirements.
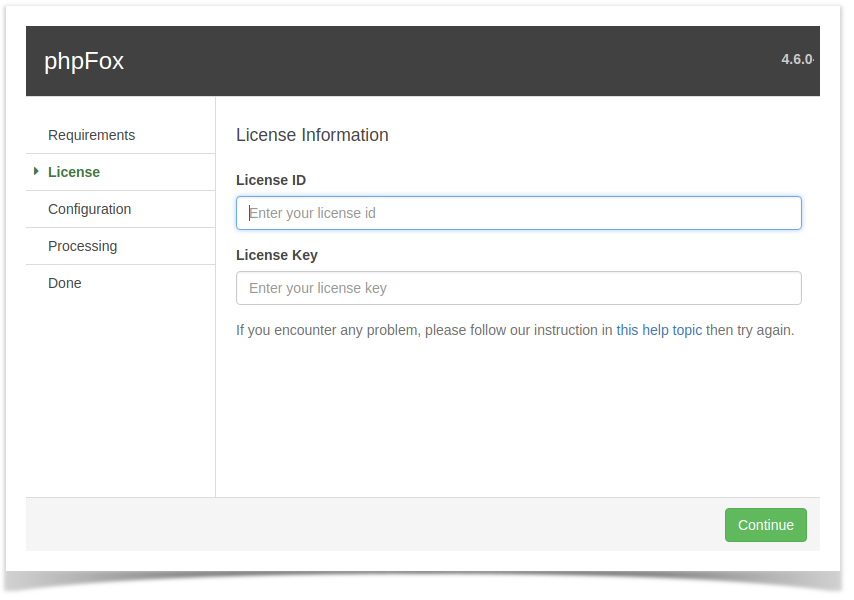
Enter your License ID & Key
Next step, the following form will show for you to enter your phpFox License ID & Key, which was sent to you via an email directly after your purchase.
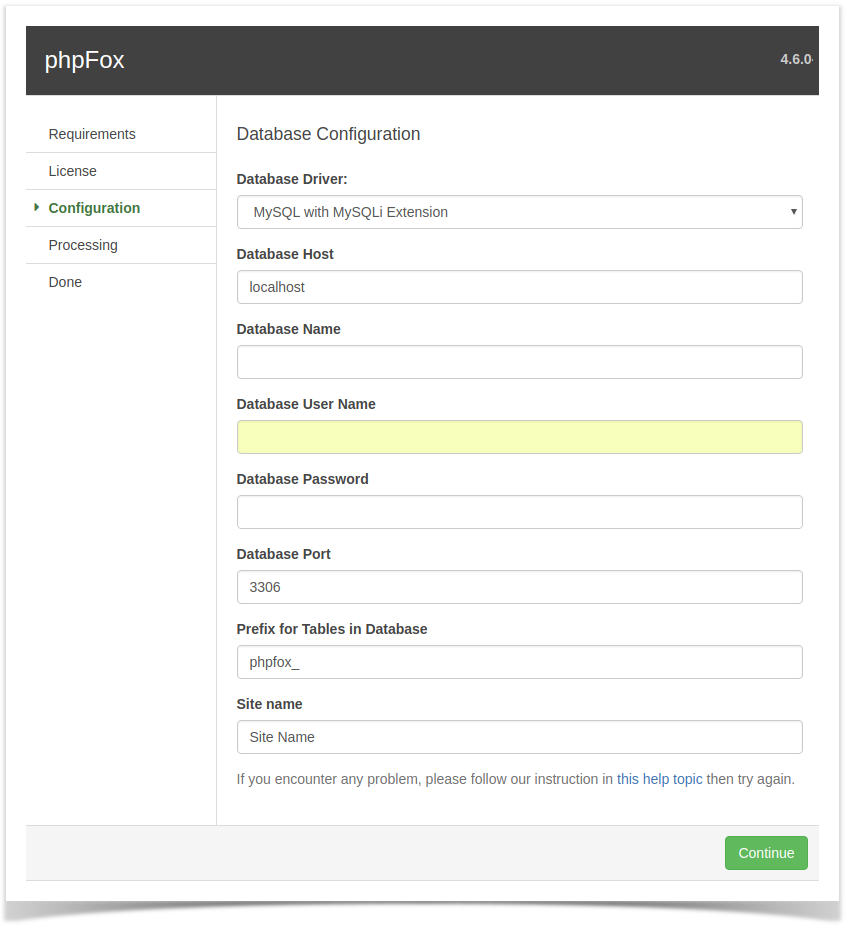
Database Configuration
...
Once you have entered all the correct details and run the web installer, it will get everything set up in no time.
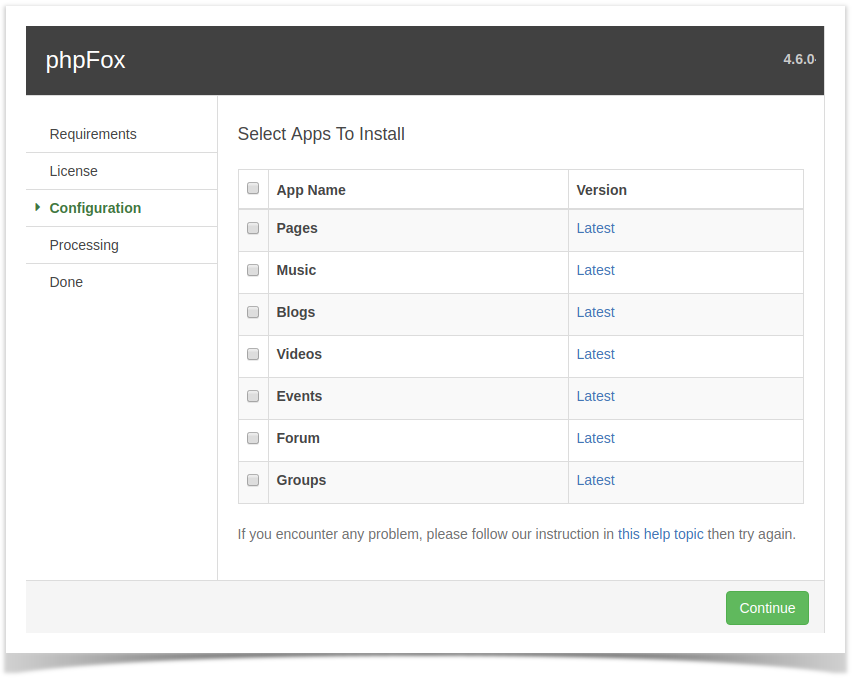
Select phpFox apps to install
Then you will select phpFox apps that you want to install on new site. (this step is required from version 4.6.0)
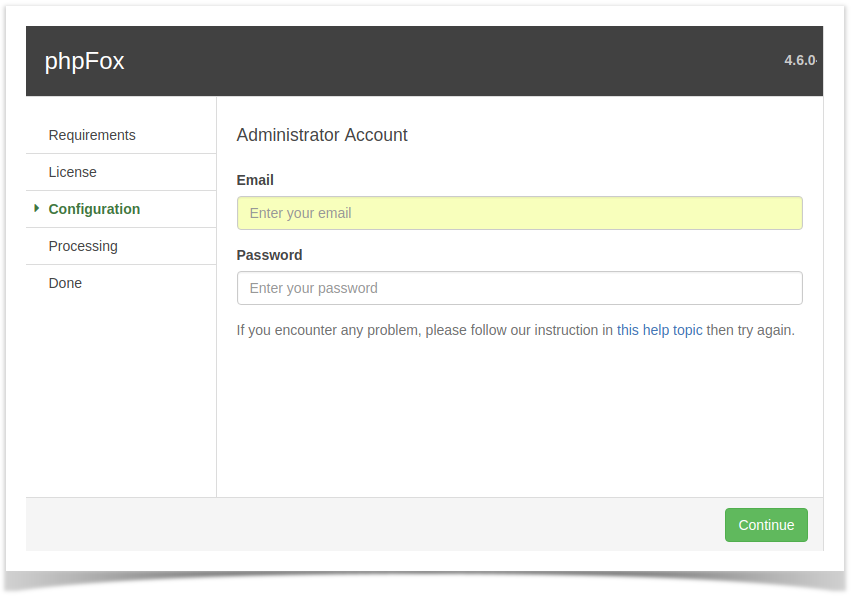
Administrators Account
You are almost done! Your final step will be to create an administrators account. You can change any of the details you add here later, so don’t sweat it. One thing you might want to take a moment to think about is your password. Make it a good one, your Admin account comes with great power.
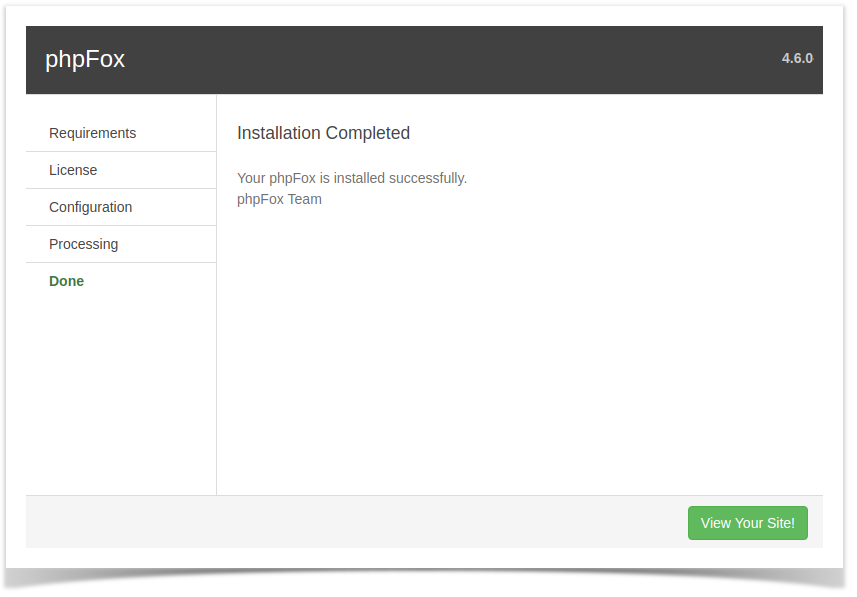
Congratulations! You have successfully installed phpFox.
Set up Cron
Our version 4.4 and up requires a Cron to be set up . This is for several things that used to be done via the old phpFox cron. That process doesn't run now. In order to have the old messages deleted, group notifications, importing/converting old v4 groups to the new Groups app, and several other important tasks, you must set up the cron.
...