...
- Once you are in the User Group Permissions areaSetting section under the Member tab in Admin CP, select the User Group you want to edit and choose Marketplace.


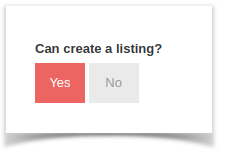
- Set "Can Create a Listing" to Yes. This setting will allow the user to make a listing in your marketplace if they are in the user group you are setting it for. There is another setting that will enable the Buy Now button and we will go over that next.

Enabling the Buy Now Button
...
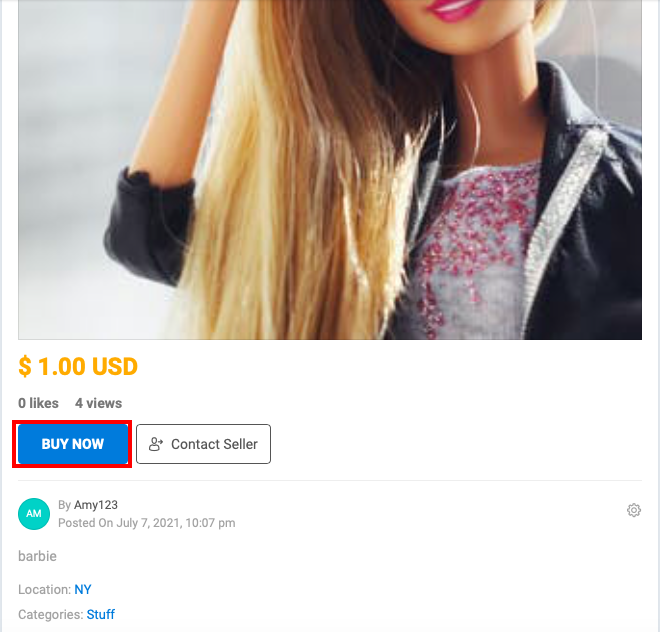
If you want your users to be able to use instant payments (provided Paypal is enabled or you've added other payment gateways), you can follow these steps to enable the setting per User Group.
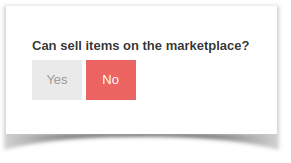
- When editing the User Group settings for the group you want to allow the Buy Now button for, still in the Marketplace settings shown above, find the setting "Can members of this user group sell items on the Marketplacemarketplace?" and set it to Yes.

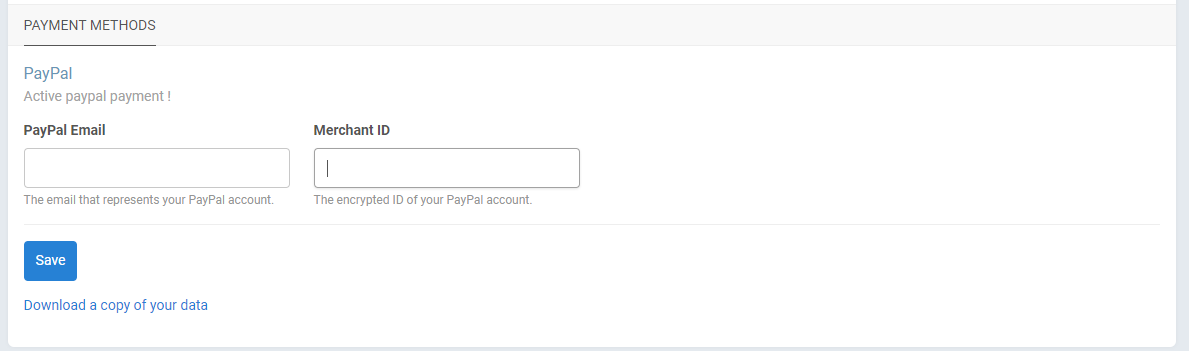
- You will also need to configure Paypal account in the User's account setting in order to receive payment. From the User's front end, click on the dropdown button right next to the avatar, choose Account setting. On the next page, roll down you will see the Payment Method section where you need to input Paypal email and Merchant ID.
Marketplace Settings
You'll want to visit the Marketplace Settings in order to set up your marketplace how you want it. This shows how to set various settings.
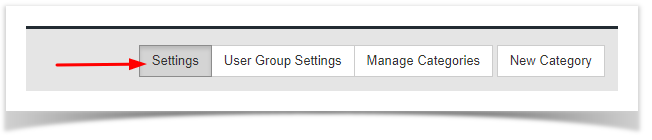
- Click Apps > Marketplace > click Settings tab
Anchor settings settings
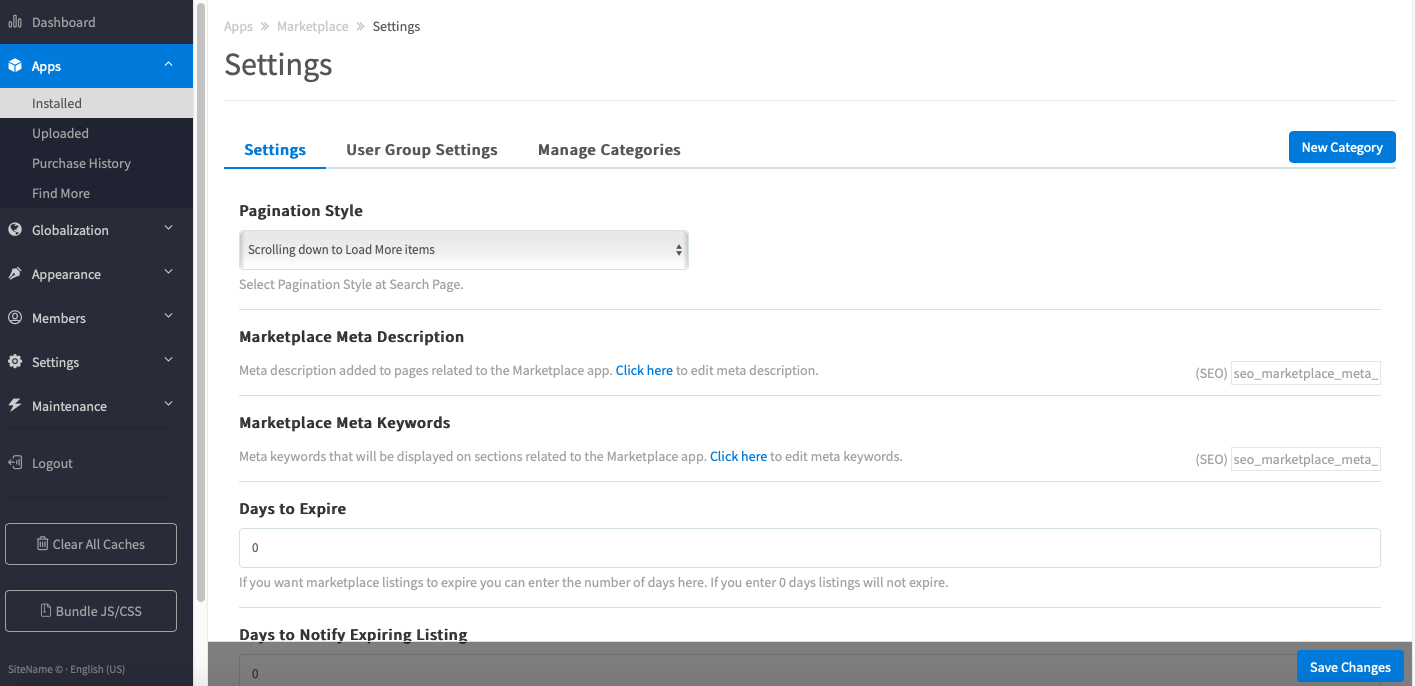
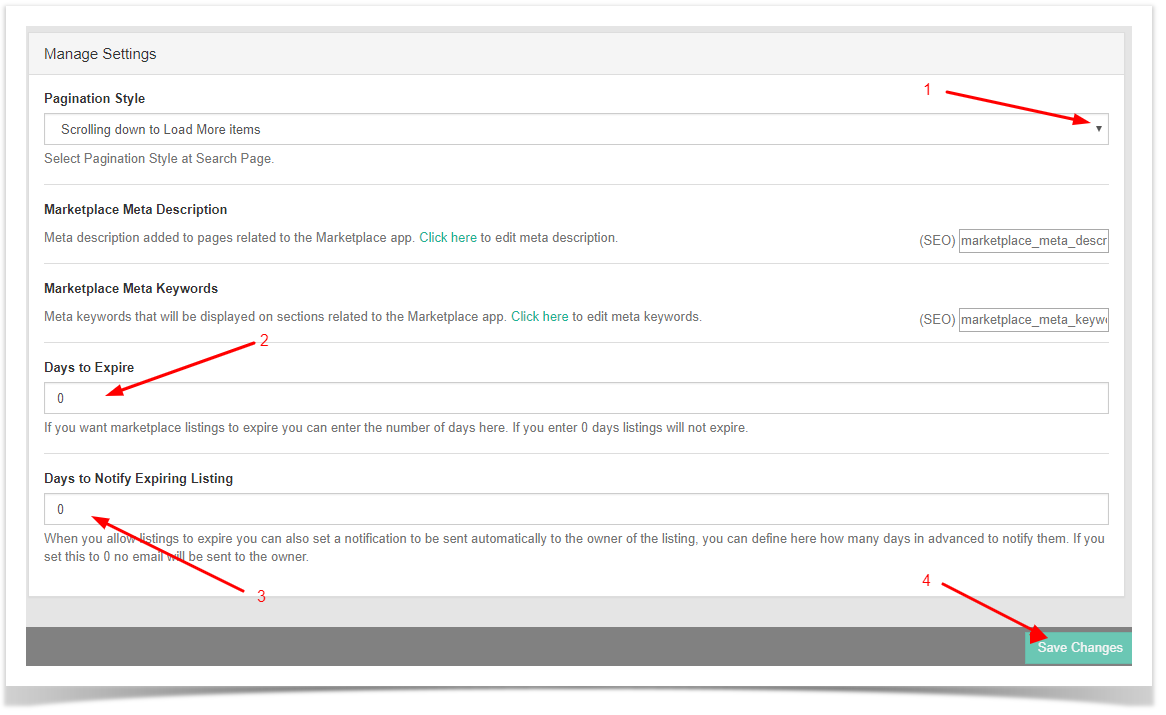
- Now you will see several setting options to choose from.
- Choose from the drop-down arrow list the pagination style
- Days to Expire - sets how many days a listing will run before it automatically expires. If you leave it at 0, then listings won't expire.
- Days to Notify Expiring Listing - if you have expiring listings set, then this setting is to send the user a notification that their listing will expire a number of days in advance of the expiration.
- Click SAVE CHANGES when done
Setting up and Managing Marketplace Categories
...
Managing and Editing Categories
- Select Manage Categories
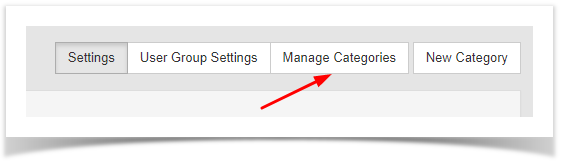

- Select Manage Categories
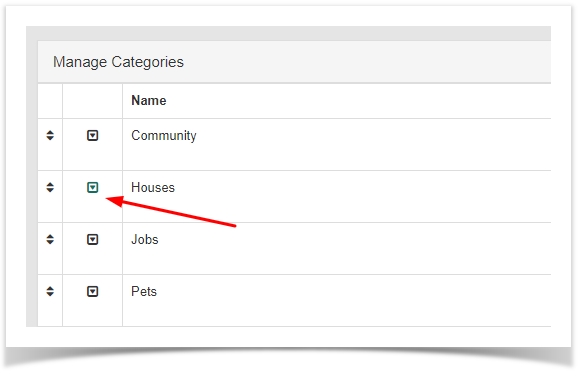
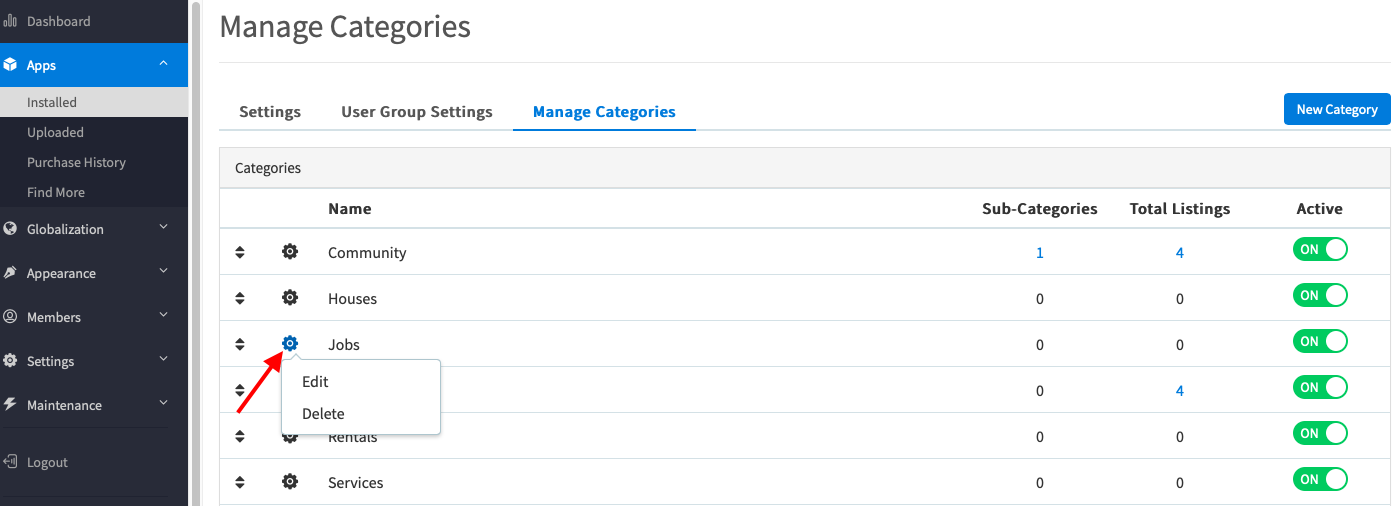
- Now you will see all of the current categories on the page.
- To Edit or Delete a Category, click the drop-down arrow gear icon before the name of the category and a drop down will show, then there comes a pop-up allowing you to select to Edit or Delete it.
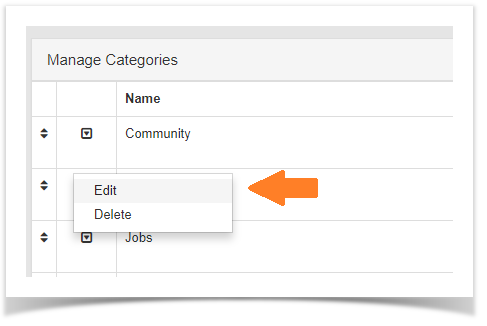
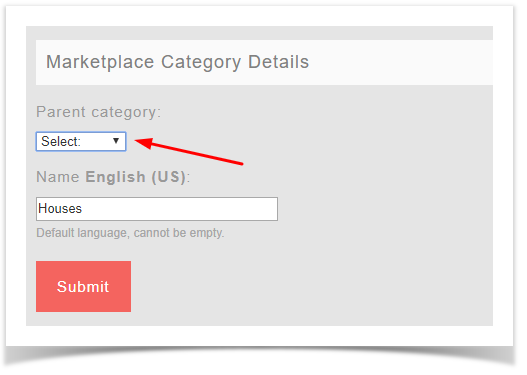
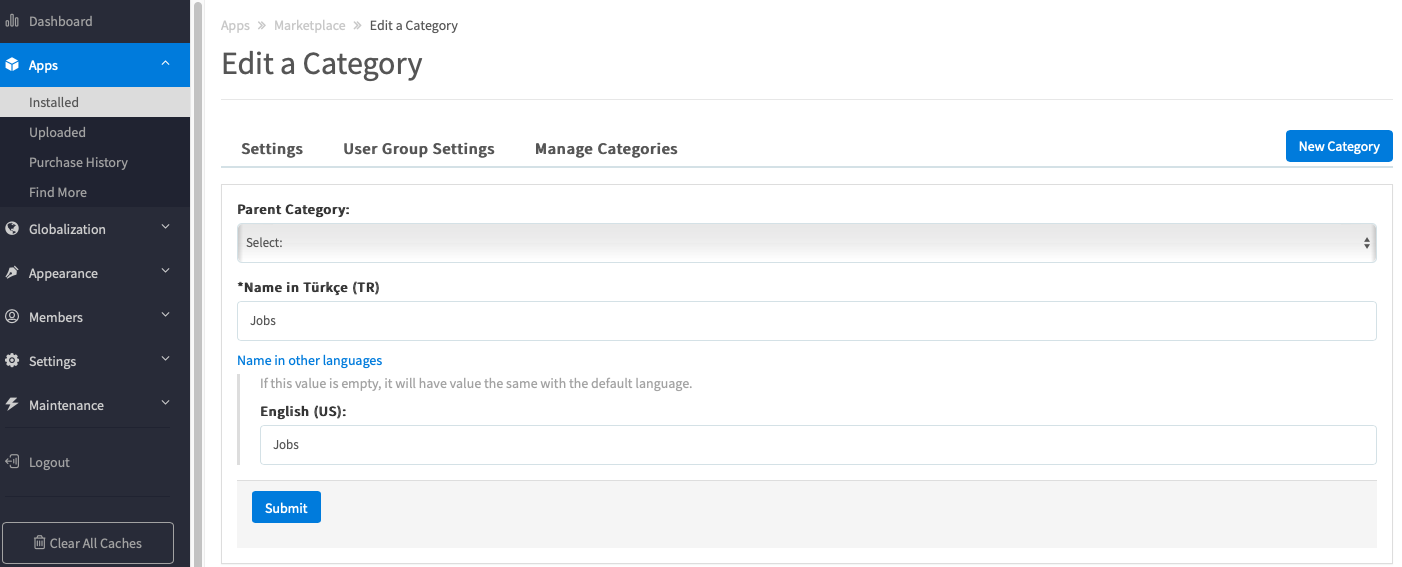
- If you choose Edit, you'll be able to rename the Category and change the Parent Category. Be sure to Submit the changes though.
- To change the sort order of the Categories, click and drag the Move icon to the left of the Marketplace Category you want to move and then be sure to select Update Order.
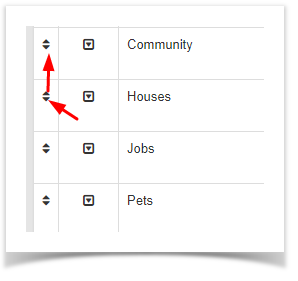 arrow to move Marketplace Category.
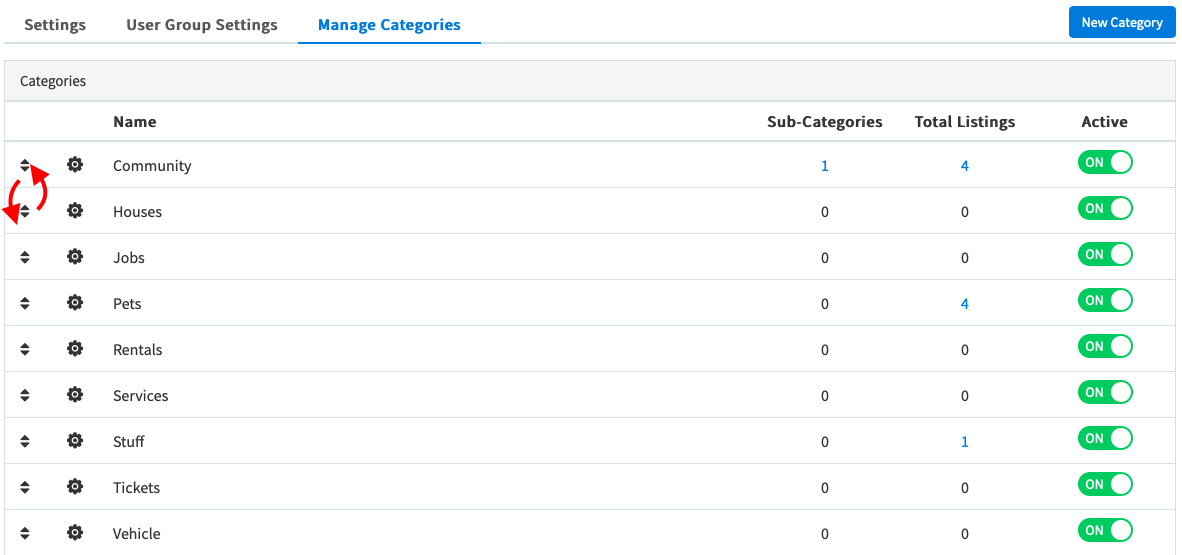
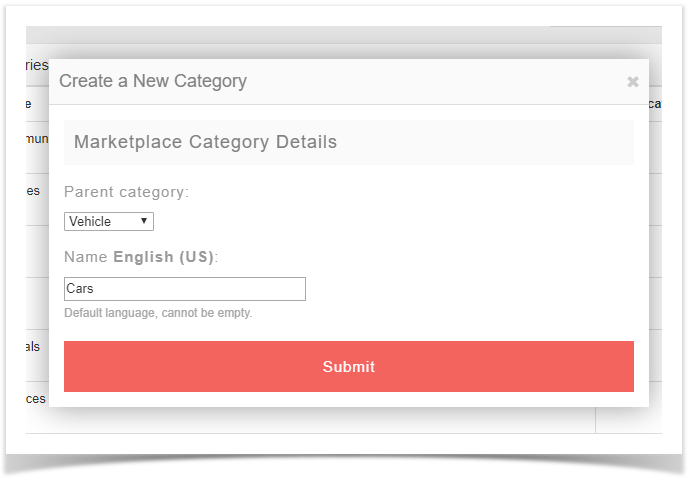
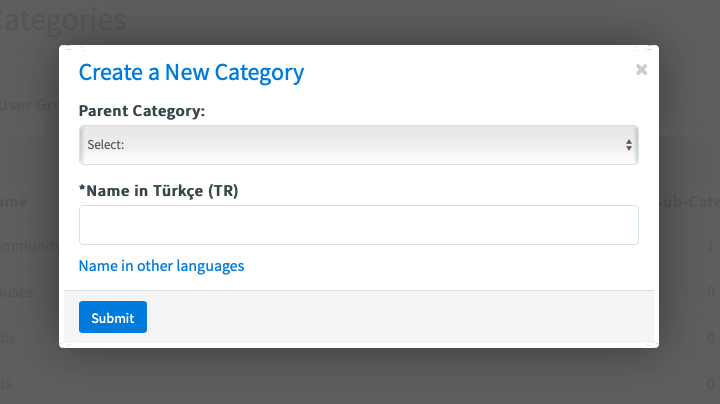
Adding Categories
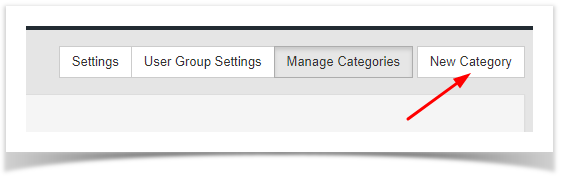
- Select New Category tab

- Fill in the Category Name and if you want it to have a Parent Category, choose one and be sure to Submit it when done.
- Select New Category tab
Clear your cache after setting any settings or adding/editing Categories.
| Tip | ||
|---|---|---|
| ||
| If you have a multi-lingual site, be sure to see our tutorial for translating categories! |
...