...
Once, Jitsi VoIP server is installed completely. You will need to update some configuration to update Jitsi branding with your own branding. Please replace the phrases with square blanket [] by respective value
Enable Jitsi JWT
To secure VoIP server to accept calls from your phpFox site only, you will need to enable Jitsi JWT as below:
- Go to
voip_folder/.envand change all of these
| Code Block |
|---|
ENABLE_AUTH=1

ENABLE_GUESTS=0

AUTH_TYPE=jwt

JWT_APP_ID=[your_app_id_configs_in_phpfox_chatplus_app_in_section_call_server]

JWT_APP_SECRET=[your_app_secret_configs_in_phpfox_chatplus_app_in_section_call_server] |
- Delete folder ~/.jitsi-meet-config/ and restart VoIP docker again.
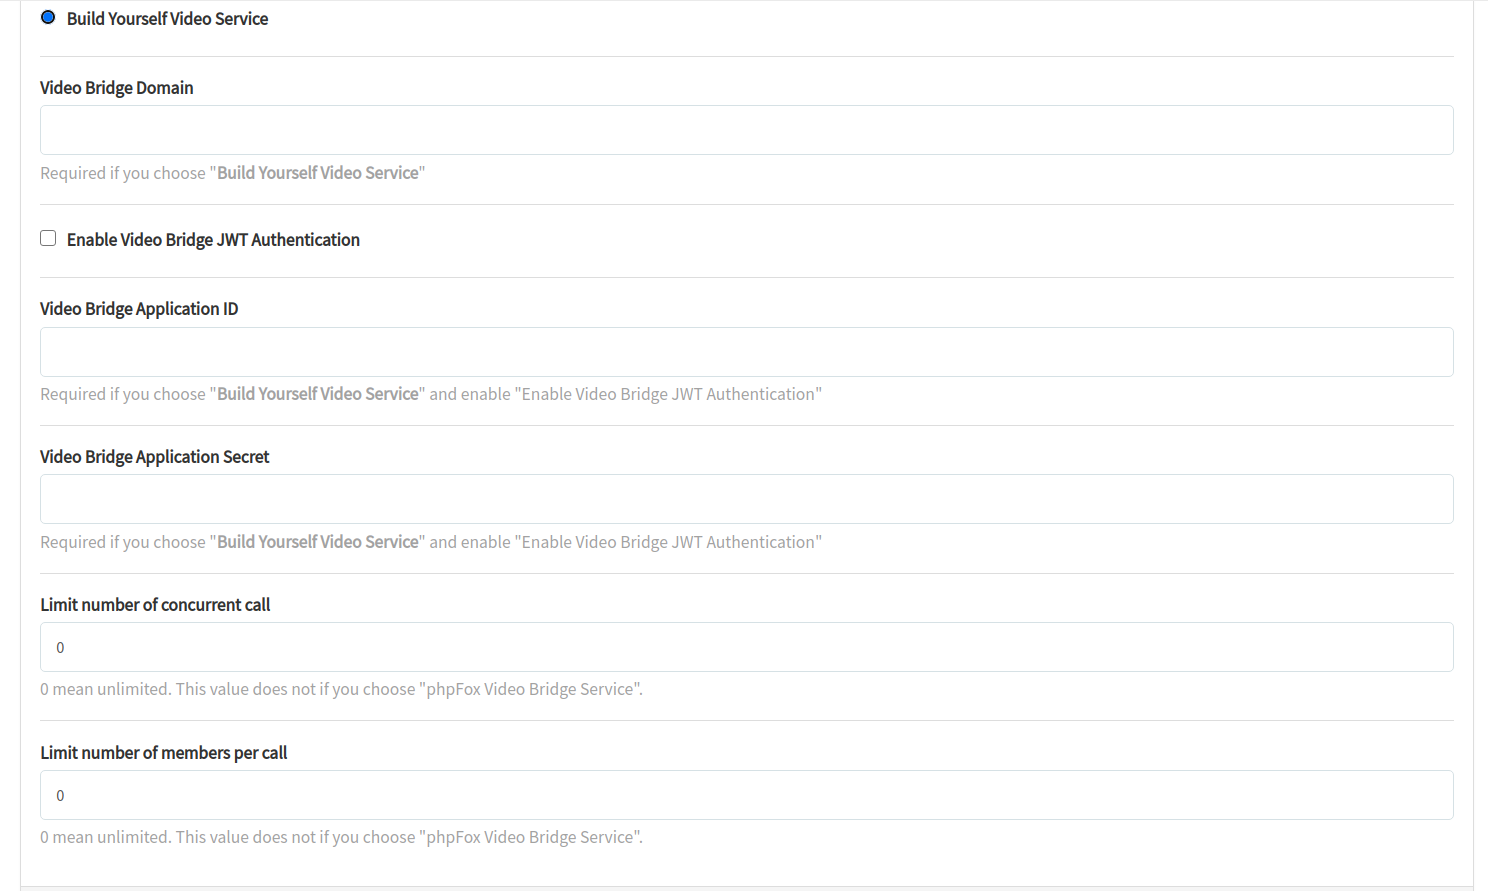
- Also, you will need to enable JWT Authentication and configure same values of JWT_APP_ID and JWT_APP_SECRET in the AdminCP > Apps > ChatPlus > Settings page
Change default Jitsi web configs
...
- Replace any image/logs you want to:
watermark.png-> watermark image when user is in call/voice if flag SHOW_JITSI_WATERMARK is truelogo-deep-linking.png-> image at on top when deep linking page is showed (No mobile app installed) when flag MOBILE_APP_PROMO is truejitsiLogo.png,JitsiLogo_square.png
How to enable Jitsi JWT
To secure VoIP server to accept calls from your phpFox site only, you will need to enable Jitsi JWT as below:
- Go to
voip_folder/.envand change all of these
| Code Block |
|---|
ENABLE_AUTH=1

ENABLE_GUESTS=0

AUTH_TYPE=jwt

JWT_APP_ID=[your_app_id_configs_in_phpfox_chatplus_app_in_section_call_server]

JWT_APP_SECRET=[your_app_secret_configs_in_phpfox_chatplus_app_in_section_call_server] |
- Delete folder
./jitsi_meet_configand restart VoIP docker again. - Also, you will need to enable JWT Authentication and configure same values of JWT_APP_ID and JWT_APP_SECRET in the AdminCP > Apps > ChatPlus > Settings page