...
| Excerpt Include | ||||||
|---|---|---|---|---|---|---|
|
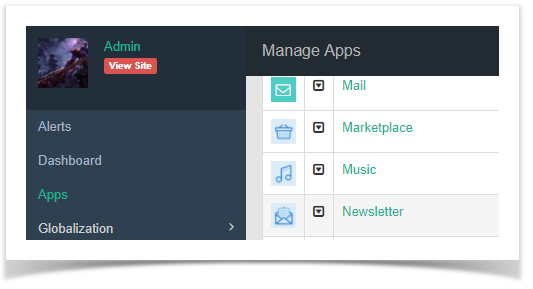
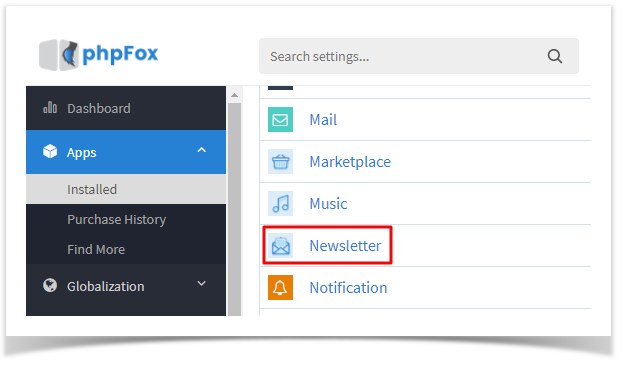
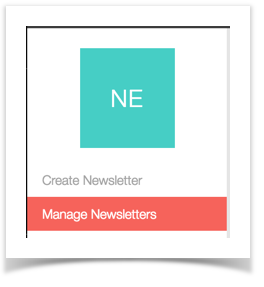
- Go to Apps >> Installed, then select Newsletter
Creating Newsletters
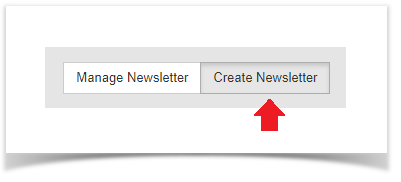
- Click Create Newsletter

- Select YES if you want to Archive (save) the newsletter.


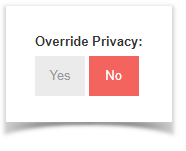
- Override Privacy - if you select YES, it will override the user's privacy setting. Be aware that users that don't want newsletters will most likely mark them as spam if you choose to do this.

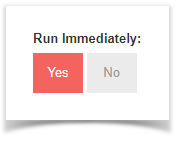
- Run Immediately - If you select YES, This newsletter will be run immediately after creation

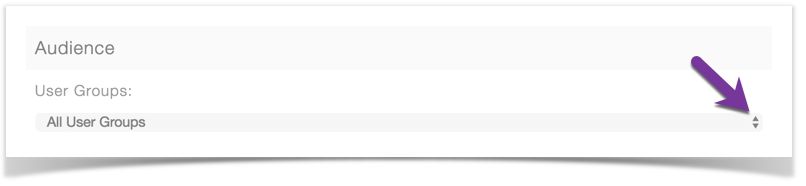
- Audience - this is for which user groups you want to send it to, in case you don't want it to go to every user group.

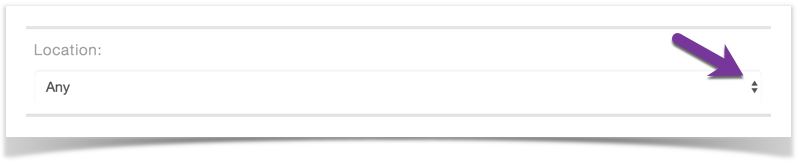
- Location - choose whether to send it to users in all locations or just one specific location.

- Gender - choose which gender to send this to or leave it at Any.


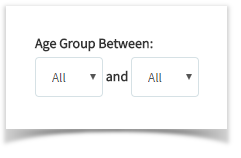
- Age Group - select to send to specific age groups or leave All.
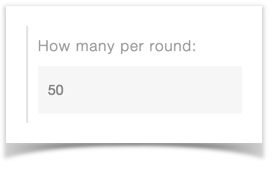
- How many per round - be careful with this as most servers and mail programs have limits as well. Before changing the default value, know your mail limits.

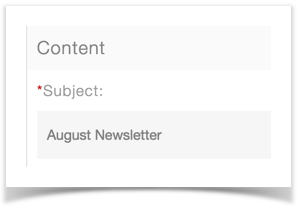
- Subject - fill in the subject for this. You might want to make it something creative so it won't end up in spam and so you know what that newsletter was for if you archived it.

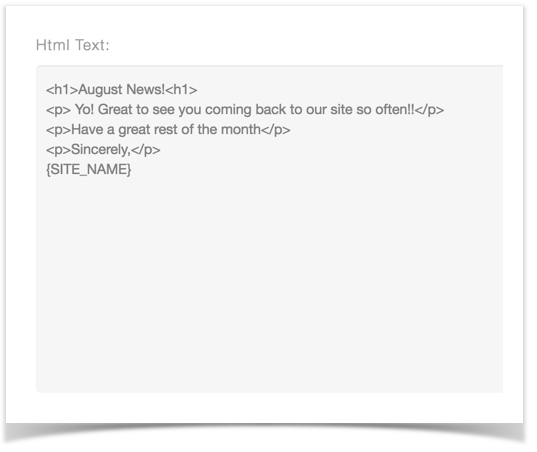
- HTML - add the HTML for your newsletter.

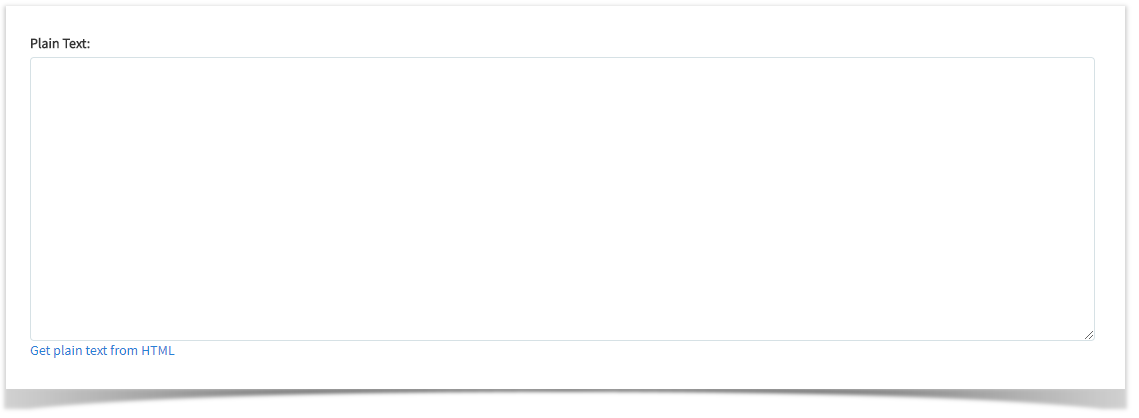
- Plain Text - You can either manually enter this or click to get the plain text from the HTML.
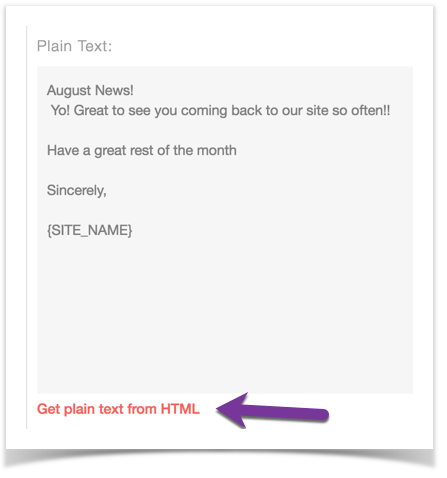
- Under the plain text input box are some hints for Keyword Substitutions for formatting.
...
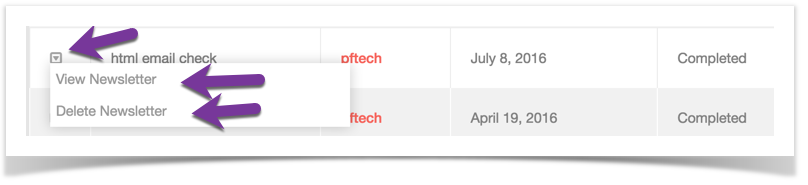
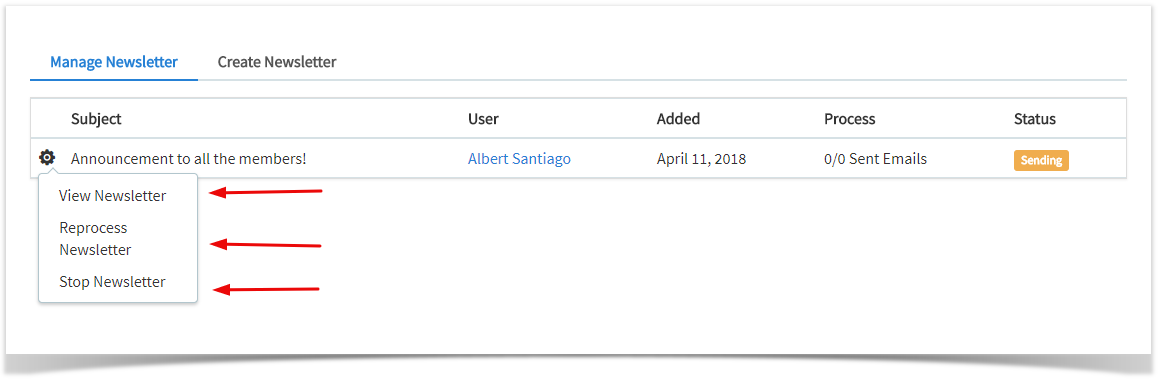
- Click Manage Newsletters to manage your archived Newsletters.
...
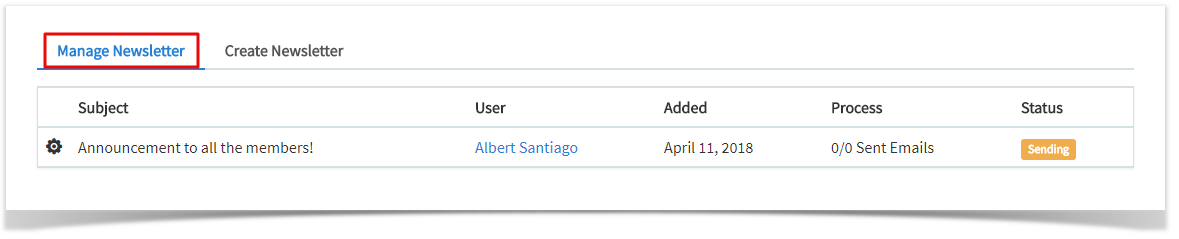
- You will see your archived Newsletters with an arrow to the left of each one. Click the arrow setting icon and you can select to View, Reprocess or Delete Stop the newsletter.