This tutorial will show you how to create or edit a block for your website. This assumes you are already logged in with the Admin user and are logged into the AdminCP.
Creating Blocks
- Click Blocks
Anchor first image first image 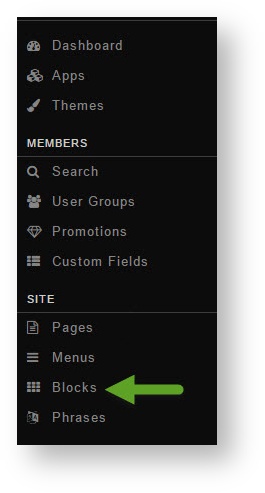
- Click Blocks
- Click Add Block in the top right of the screen
...
- Click the drag symbol to the left of the block name and drag it up or down. You will see a spinning icon in the bottom right once you finish moving the block. That shows it is saving the position.
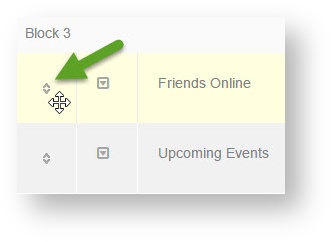
- Once you've moved the blocks where you want them, clear cache.
...
- Click the Edit arrow to the left of the block to edit it or click Delete to delete it. Note that it is not a good idea to delete default blocks. Please see the step for disabling a block instead.

- Once you click the edit arrow, you'll see a popup and can change things as shown in the popup section in the step for Creating Blocks.
- Once you've edited the block how you want it, clear cache.
...
- Click the Disable (Deactivate) icon to the far right of the block you want to disable and it will change to Grey for disabled. It is best not to delete default blocks and to disable them instead of deleting. The image below shows an activated (Red) and deactivated (Grey) block. You can enable (activate) a block by clicking the grey icon and it will turn to red for enabled.

- Once you've disabled/enabled the blocks you want to disable/enable, clear cache.
...