This tutorial will show you how to make custom fields for all user groups for your website. This assumes you are already logged in as the Admin user and are logged into the AdminCP.
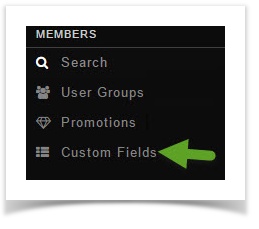
- Click Custom Fields


- Click Create A Custom Field


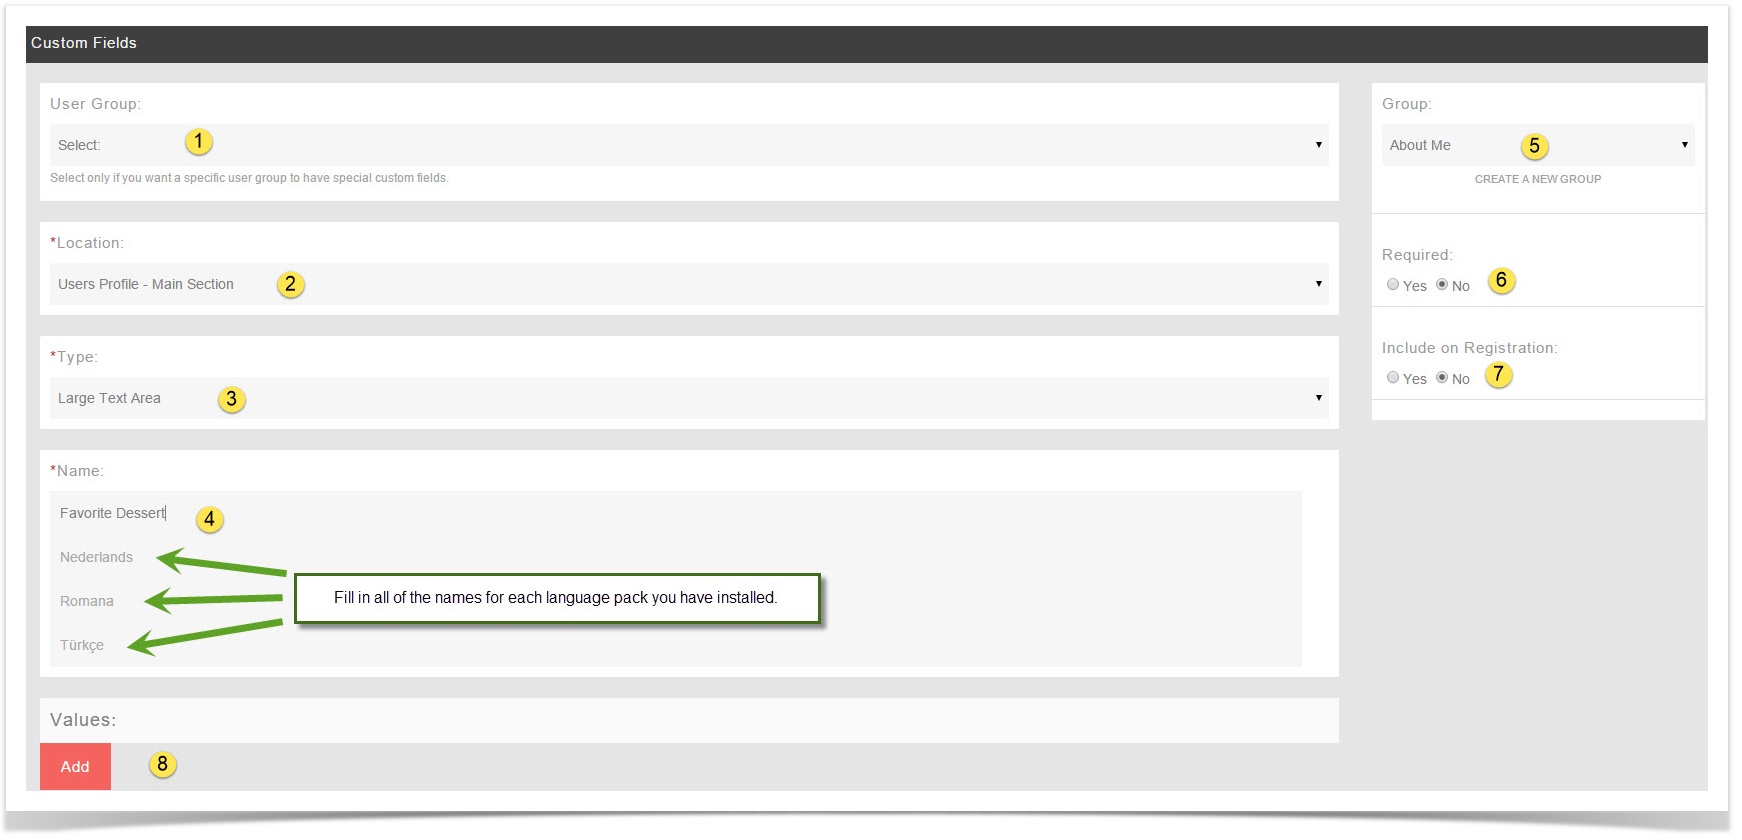
- Fill in the form and don't select a user group as this custom field we are making is a global one that all user groups will see and fill in (other than banned users)
- Don't select anything for this.
- Location: Choose Main or Basic. You might want to experiment before deciding which one to choose to see which you like best.
- Type: Choose from Large Text Area, Small Text Area, Selection, Multiple Selection, Radio or Checkbox. Experiment to see how these work for what you want to do.
- Name: This is what the user will see so be sure to put a good name for it. You'll want to fill in any other languages you have too. In our example, we used Favorite Dessert for this custom field.
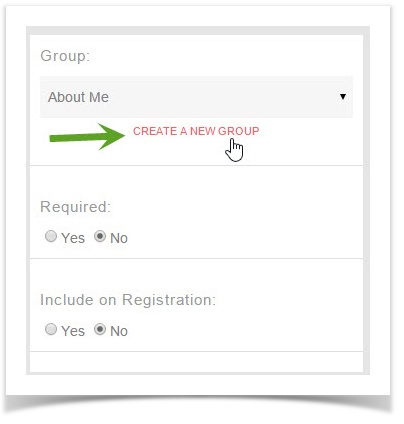
- Group: The default Group is About Me. This is where the custom fields are grouped together. You can create Groups as well.
- Required: Do you want users to be required to fill in this field when they edit their profiles?
- Include on Registration: This will show the custom field on the registration. If you also chose Yes to #6, then the new user will have to fill this in during registration.
- Add: This adds the custom field to your site.

Creating Global Custom Groups

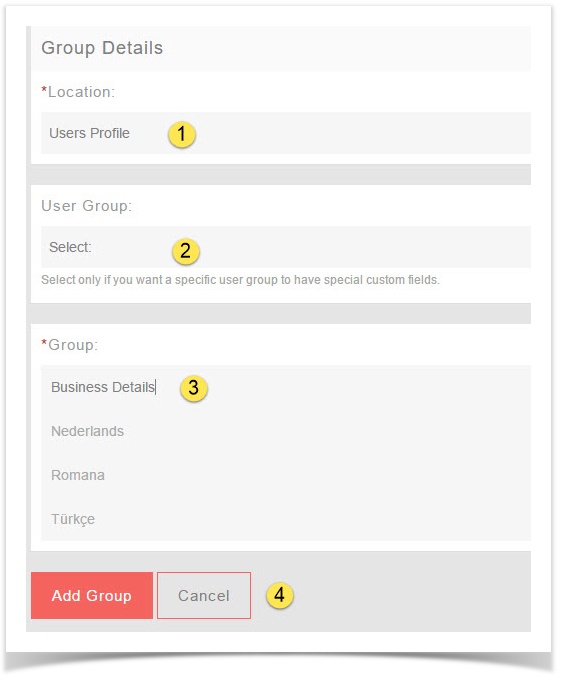
- Fill in the form and don't choose a user group as this is for all user groups.
- Location: User's Profile
- User Group: Leave blank
- Name: Put a name for this group. If you have other languages installed, be sure to put the name in those too. In our example, we put this one as Business Details.
- Add Group or Cancel: Click to Add when done or Cancel if you don't want to add it.

| You must put the English title or name for this Group or custom field, or it will cause issues on your site as the master language is used in the code. A blank value for the English phrase will result in a blank value for the Group. |


