To setup a MailGun email server to send out email on phpFox, you need to follow these below steps:
- Create new Domain.
- Verify new Domain.
- Add email server information to phpFox setting.
1. Create new Domain
Login to MailGun dashboard using your username & password.
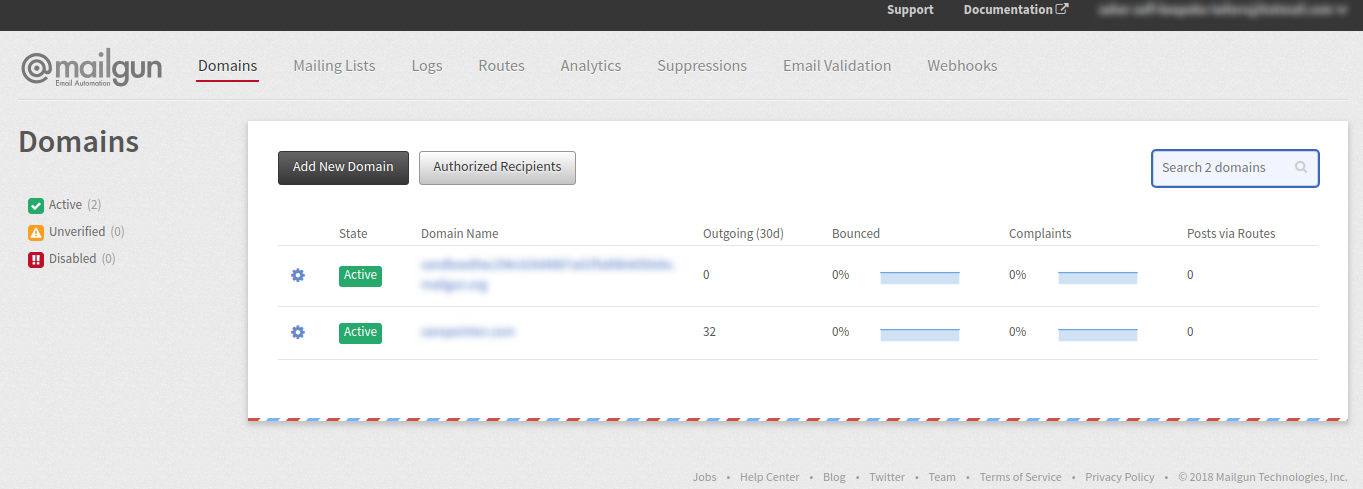
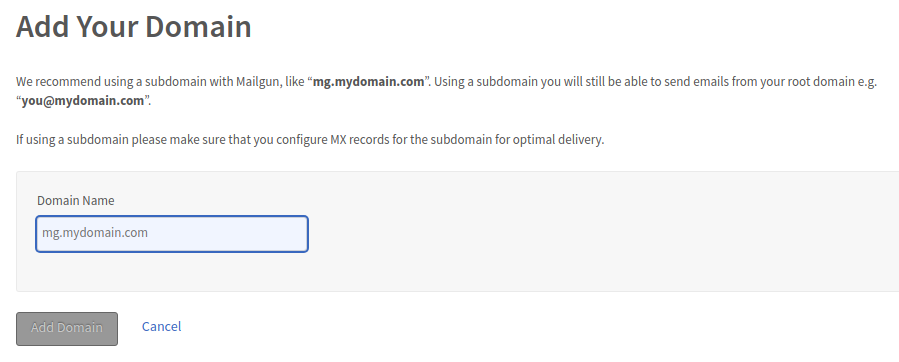
Select Add New Domain to create new domain. Enter your domain name in the next page then press Add Domain to add new domain.
2. Verify new Domain
Afterwards, wait a little bit until your domain is created. There will be a page of instruction as follow to guide you to insert the DNS records.
Here you have 3 sets of DNS record you need to add.
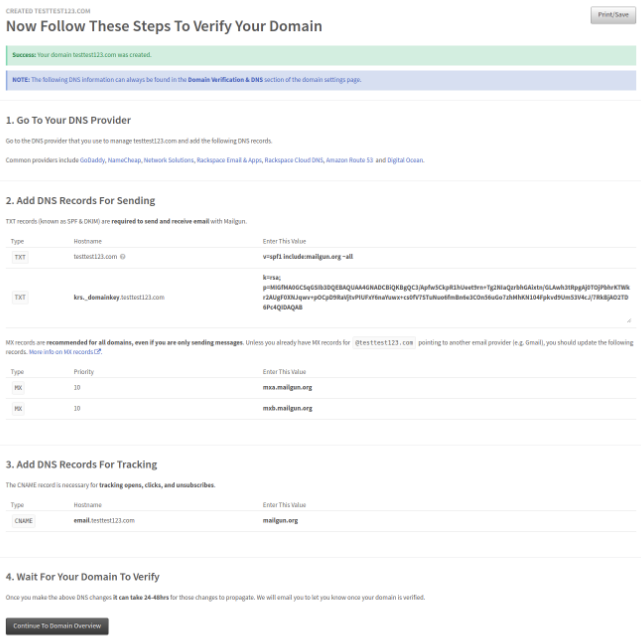
Go to the DNS management dashboard of your domain, and add:
- 2 TXT records
- 1 CNAME record (If you want Mailgun to track clicks and opens)
- 2 MX records (Unless you already have MX records for your domain pointed at another email service provider, e.g. Gmail)
Along with the provided values.
Once you’ve added these records, save and wait a little bit (up to hours) until they’ve propagated, your domain will be verified (Check State of domain on Domain list you will see it as Active).
3. Add email server information to phpFox setting
Once your domain is Active, you now can add the mail server information to phpFox setting.
Select a domain in the list, you can see the server info of the your mail domain:
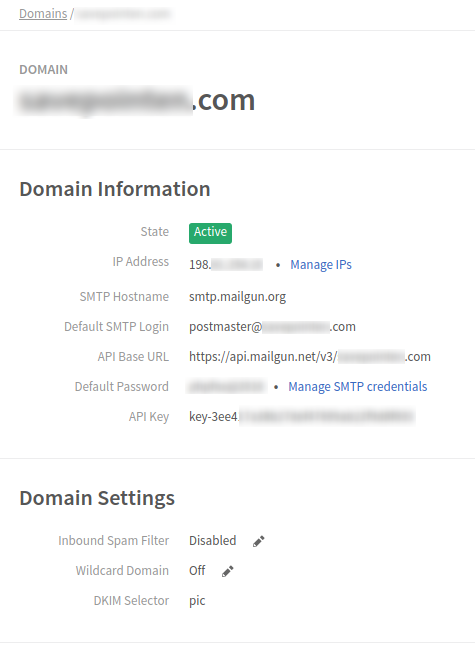
From Admin CP >> Settings >> Mail Server
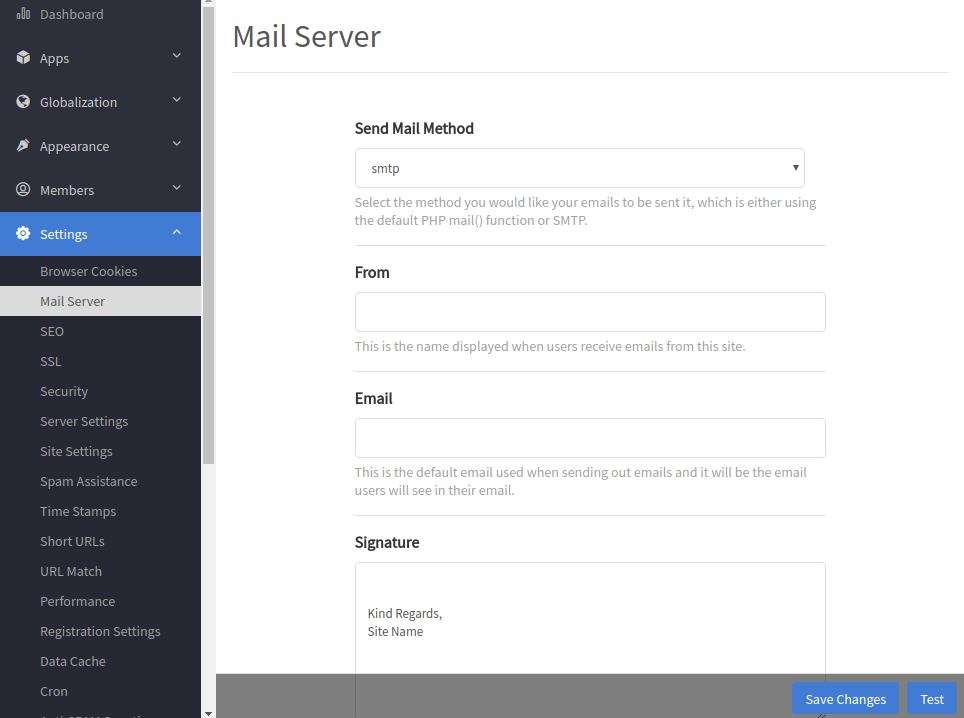
- Send Mail Method: smtp
- From: Enter the name you want to show.
- Email: Enter provided email on MailGun
- SMTP Host: Enter provided smtp as provided on MailGun
- SMTP Authentication: Yes
- SMTP Username: Enter the email which provided by MailGun
- SMTP Password: Enter password
- For Secure with TLS the port will be 587, otherwise with SSL the port will be 465.
Save Changes or you can send Test email.