...
Note: 2 Welcome and User Sign up for Guests blocks should be configured in the same block area (column). We recommend putting these blocks in Block Area 2.

1. Example on Block Area 1 or Block Area 3
You can put here a block of the site-related statistic. Here we opt to Featured Members block, so visitors can see who are active on your community.
...
2. Example of Block Area 2
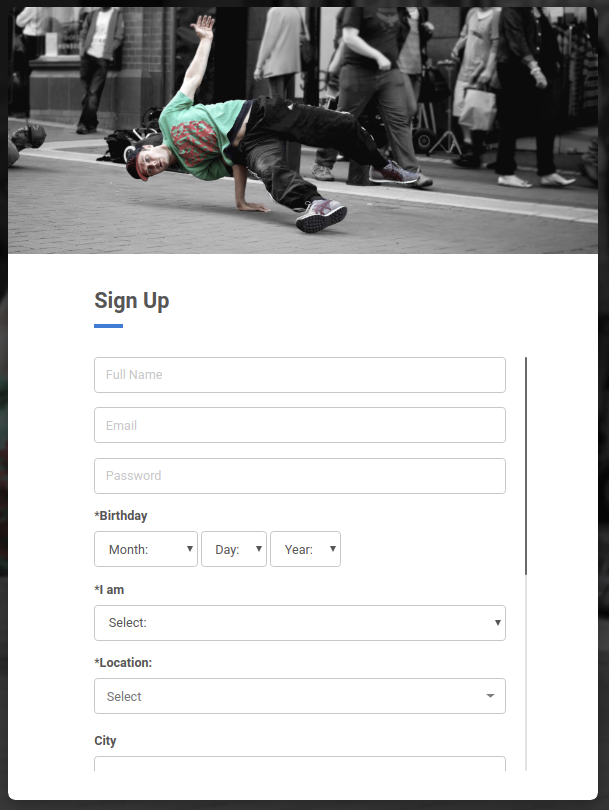
Here instead of a just one large block to display the main photo, we change the design of Block 2 into two minor vertical blocks, one on top another. A block to show the main photo, and below it is a block The block area 2 should be used for the main content of the Landing page since it will get more focus on visitors. By default, you can use Welcome and User Sign up for Guests in this block area. The Welcome block can show the main photos, and User Sign up for Guests block is to display the Registration form.
Access AdminCP >> Appearance >> Blocks >> Choose Visitor Landing Page (core.index-visitor) >> Add Block. Setup a new block as follow to show up the main photo.

...
- In 1-column or 2-column layout, these blocks will be displayed in a horizontal way, photo displays next to the Registration form.
3. Example on Block 3
In this blog, we suggest you put up blocks with introduction, news, announcement or updates on your site.
...
- In the 3-column layout, block area 2 displays 2 these blocks into vertical way, one on top another.
How to add Welcome and Registration blocks
- Access AdminCP >> Appearance >> Blocks >> Choose Visitor Landing Page (core.index-visitor)
...
- Add
...
- new block
...
- or edit the current Welcome block as below
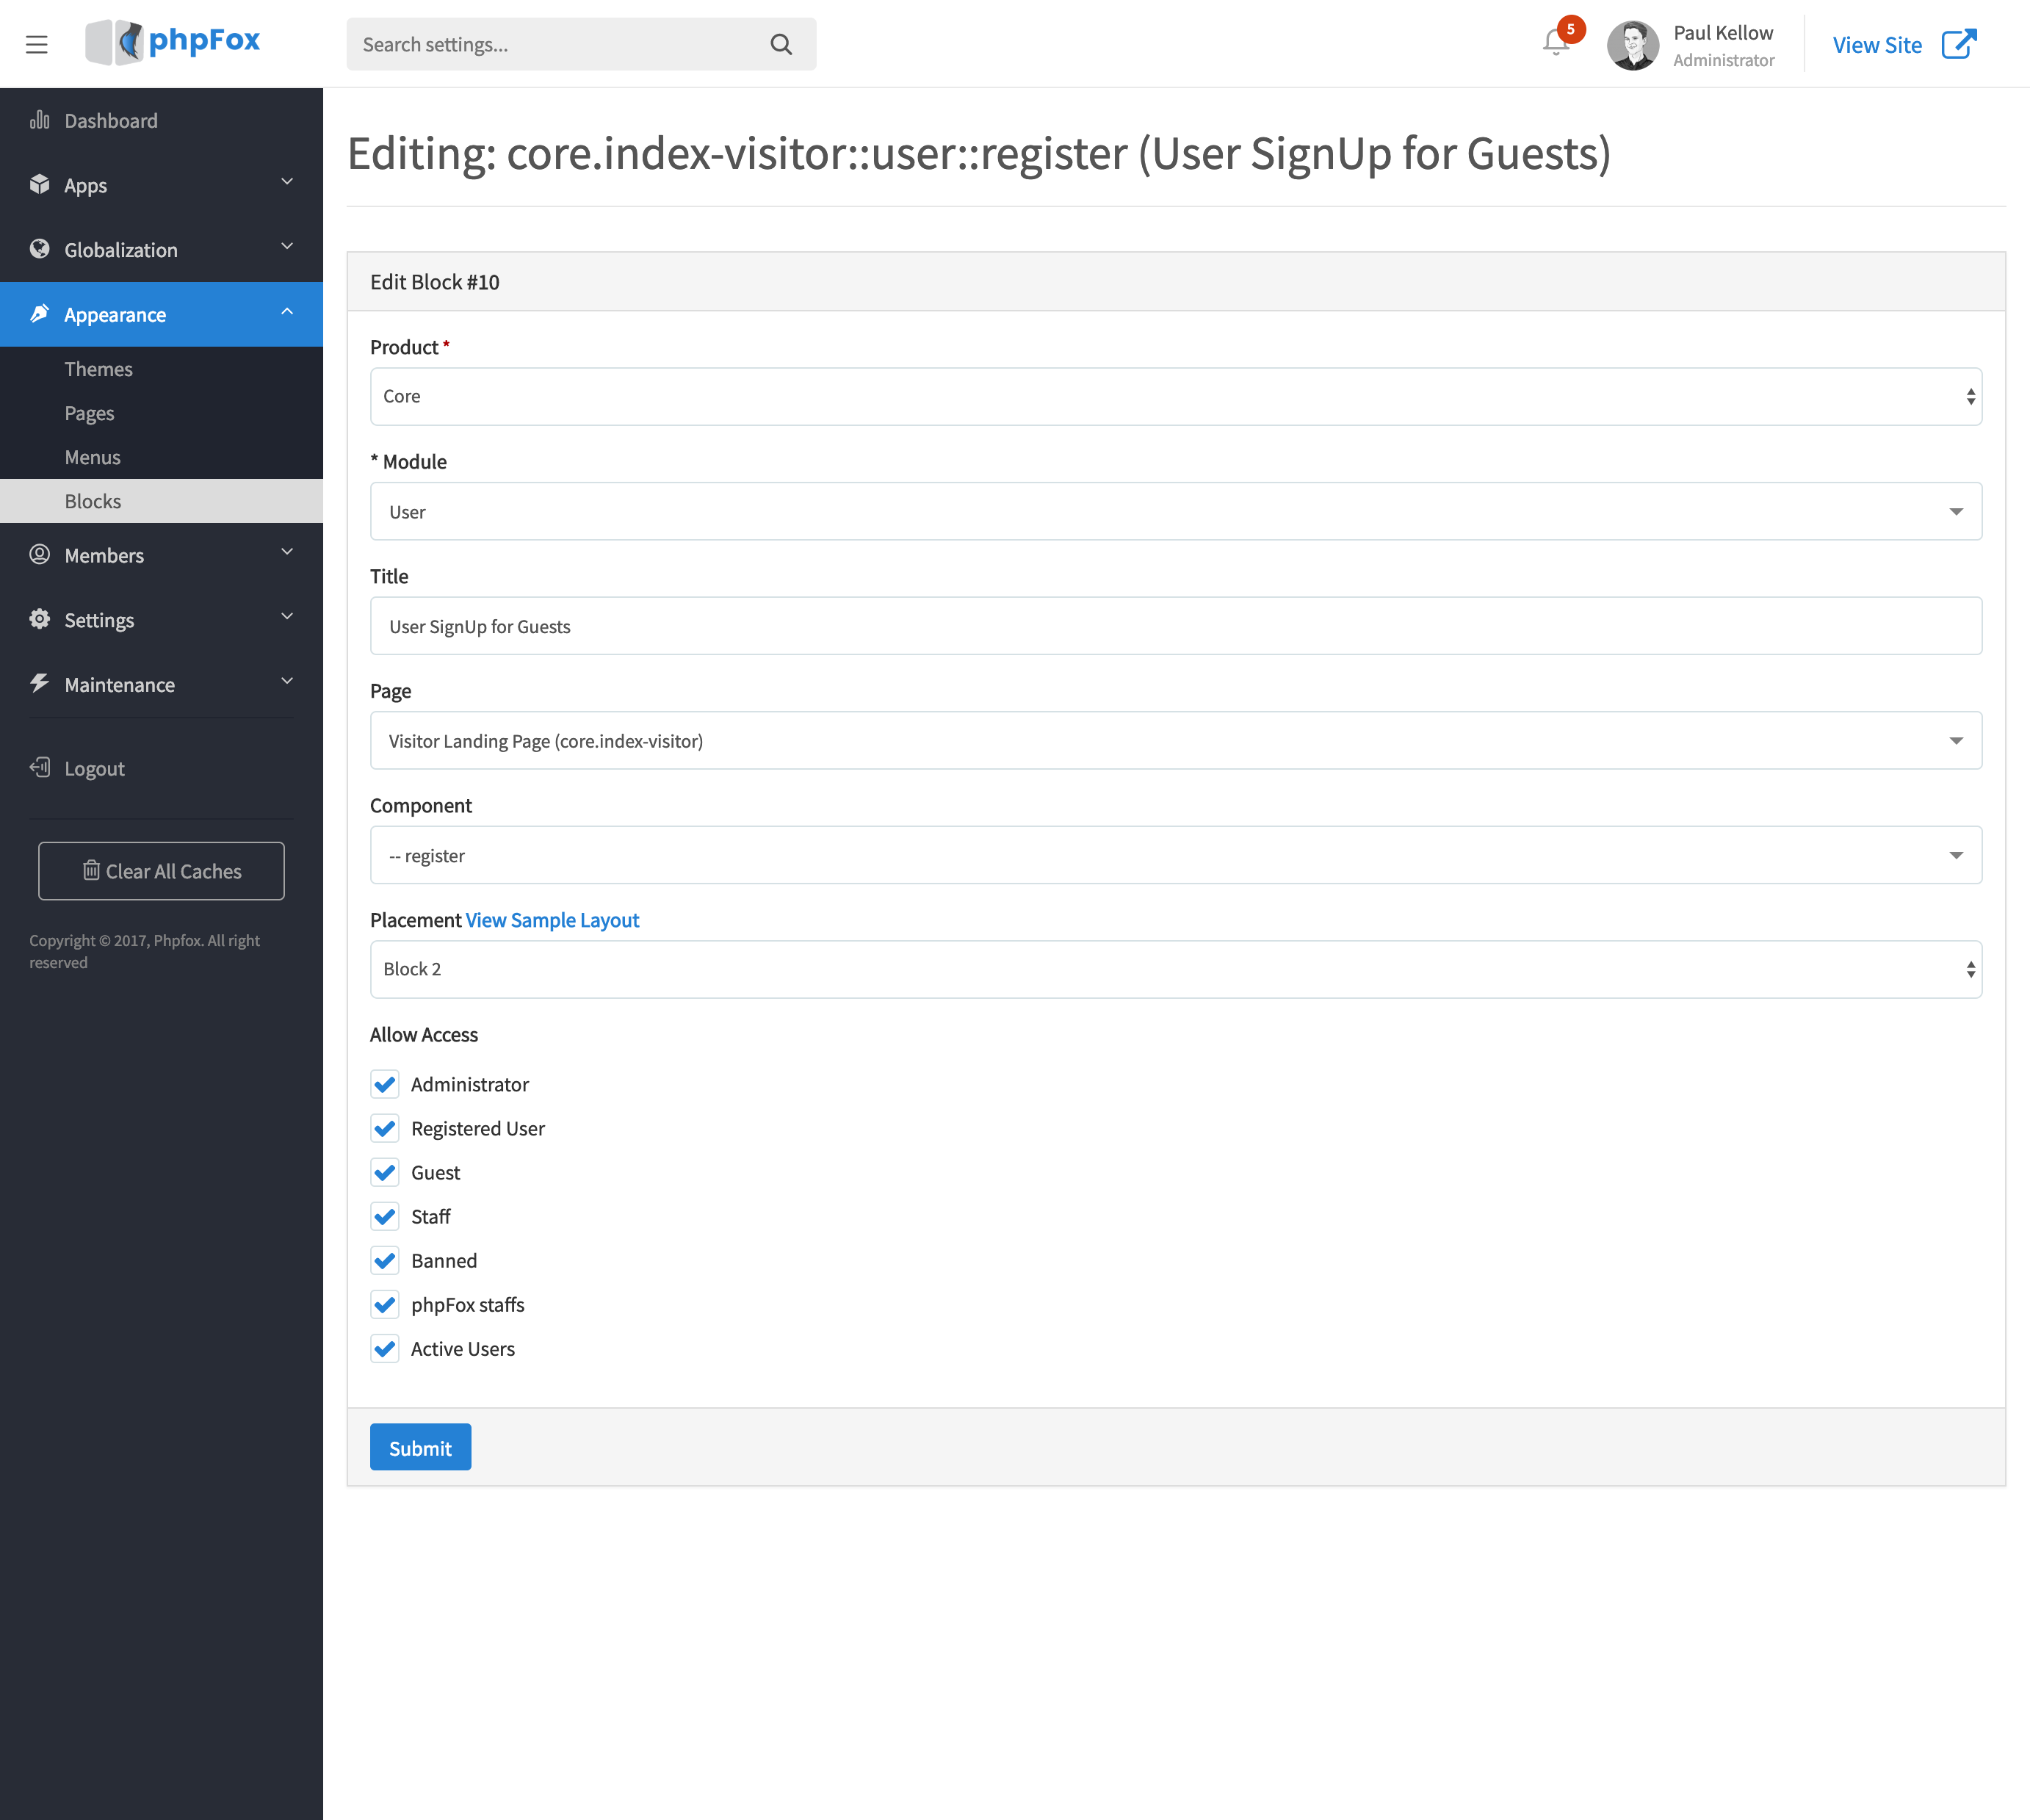
- Then, add new block or edit User Sign up for Guests for Registration form as below
Done! Now you have a completed Homepage for your site with rich content due to custom blocks!
...