| Table of Contents |
|---|
This assumes you are already logged in with as the Admin user and are logged into the AdminCP .
- Click Settings >> E-Gifts to get to the E-Gift management screen.
...
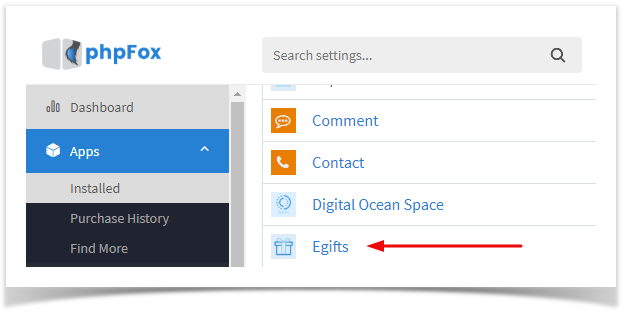
- Apps >> Installed >> Egift
Adding and Managing Categories
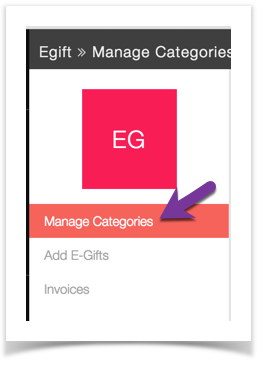
Once you are in the E-Gift area, you can add and manage your categories. You need to set up your the categories that you want so you can add E-Gifts.
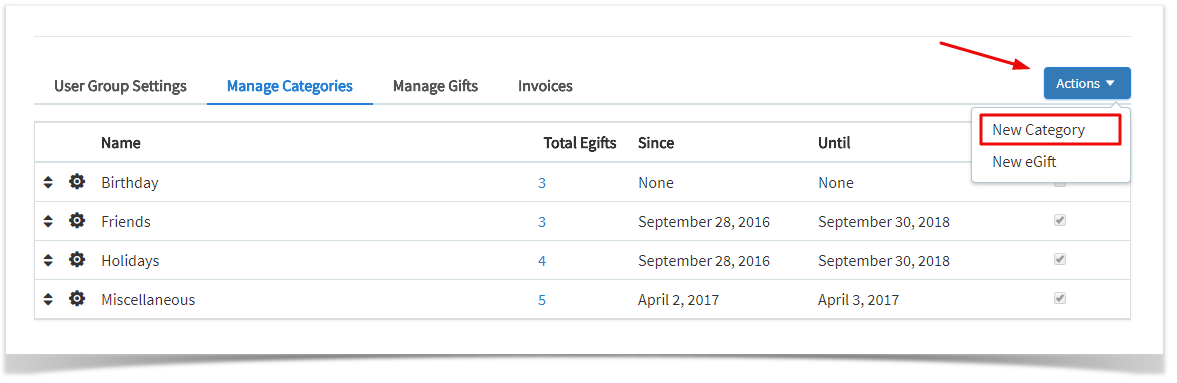
- Click Manage Categories
Adding Categories
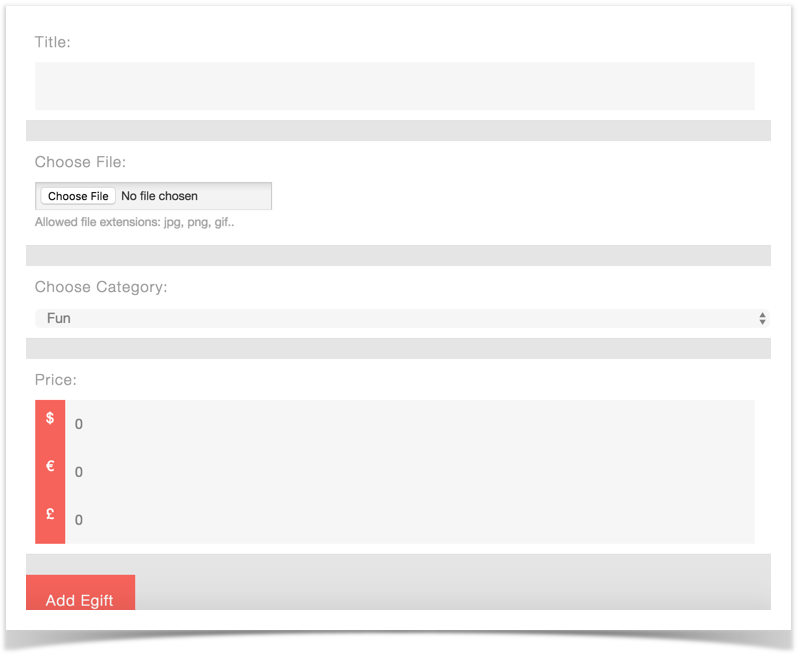
- Fill in the fields to the right of the screen if you want to add a category.
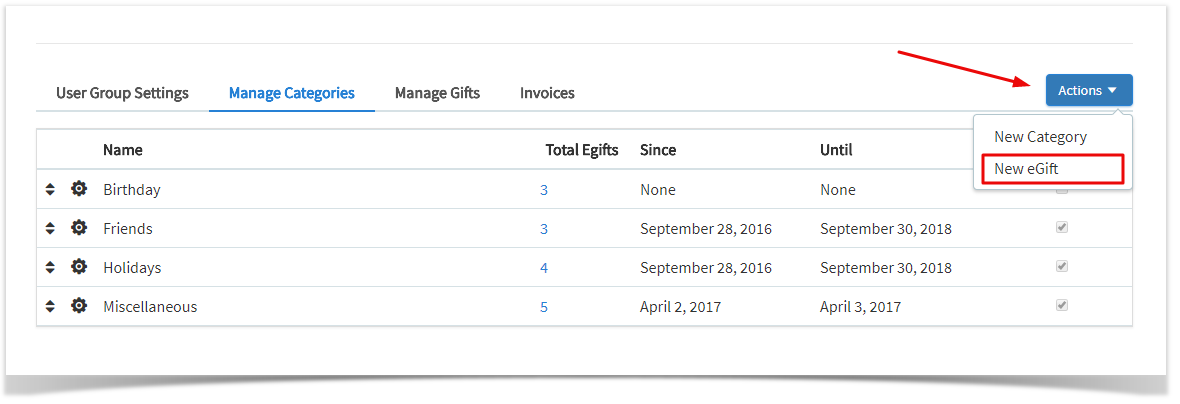
- Click the Action button >> select New Category
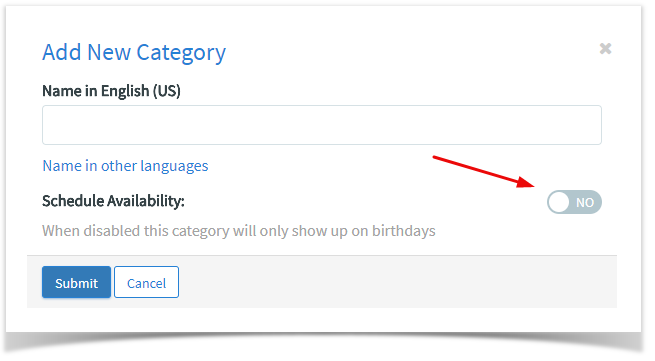
- For Gifts that just show on the user's friends birthday, keep the Schedule Availability set at No.
...
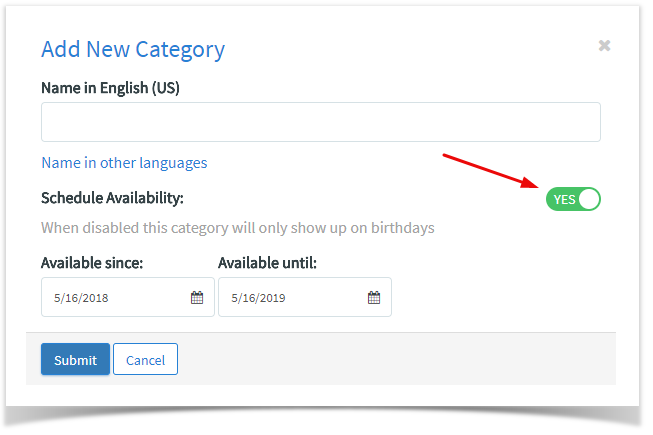
- For Gifts that show all year long, set the Availability at Yes and choose your dates.
...
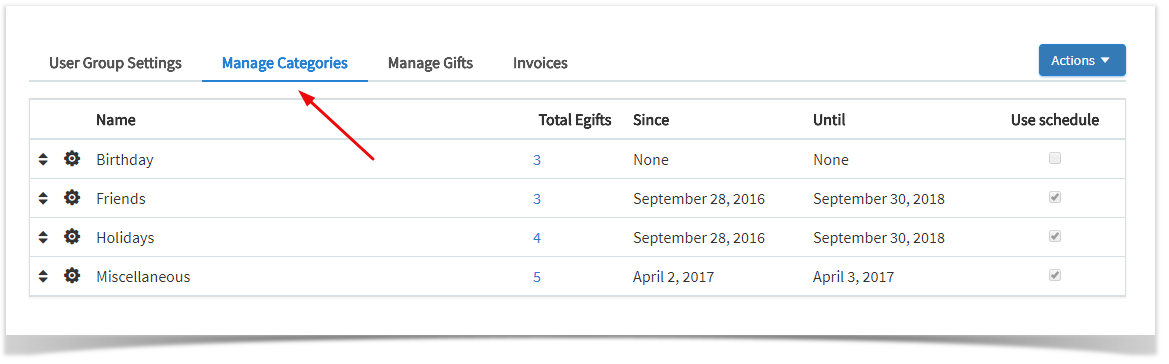
Managing Categories
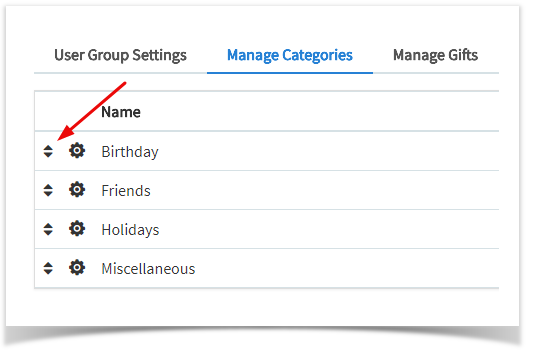
- Click to the left of your categories to drag them up or down to sort them.
...
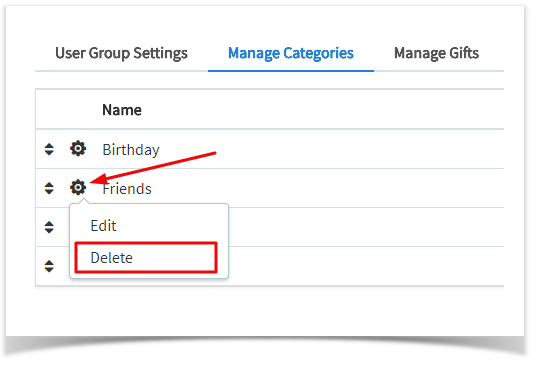
- Click the pencil and paper setting icon to edit the category name or dates.
...

- Click the minus sign setting icon >>select delete to delete this category and the egifts that are in it.
...
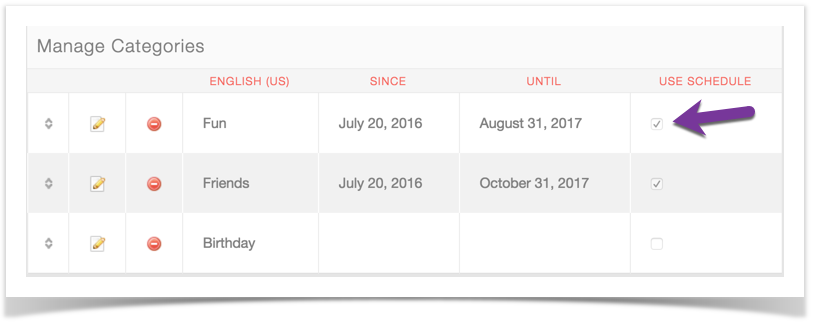
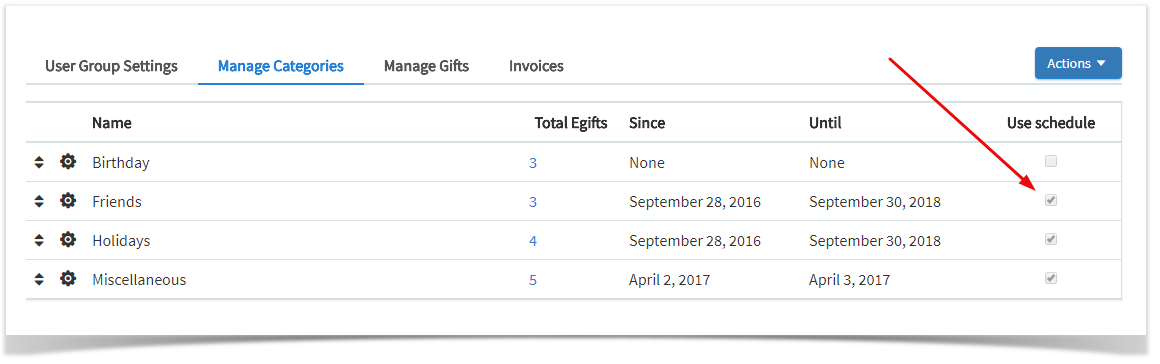
- Click the Use Schedule checkbox to enable or disable this from showing all year long. Disabled will show only on the birthday of the user's friends.
Adding and Managing Gifts
Adding Gifts
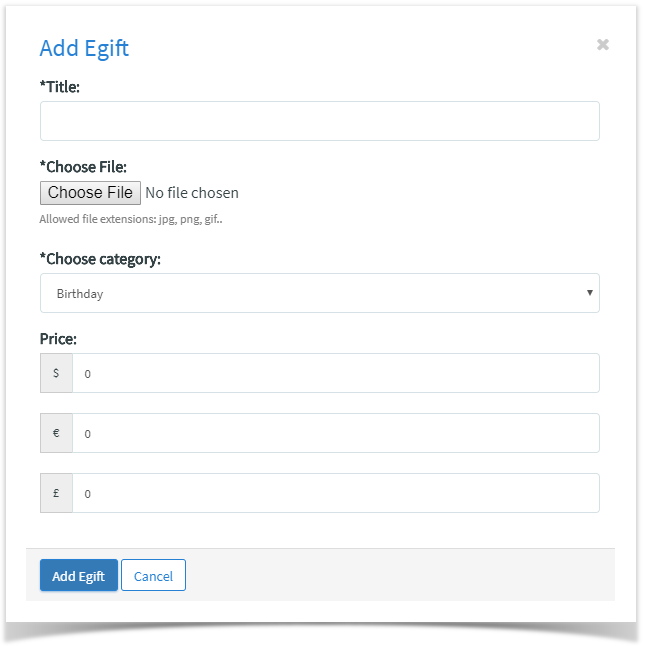
- Click Add E-Gifts
...
- Actions >> Select New Gift
- Fill in the fields on the right, choose an E-gift to upload from your computer and choose a category. Make sure you set up payment gateways if you are setting up a price or that you have set up the Points if you are allowing users to purchase with points. Click Add Egift when done.
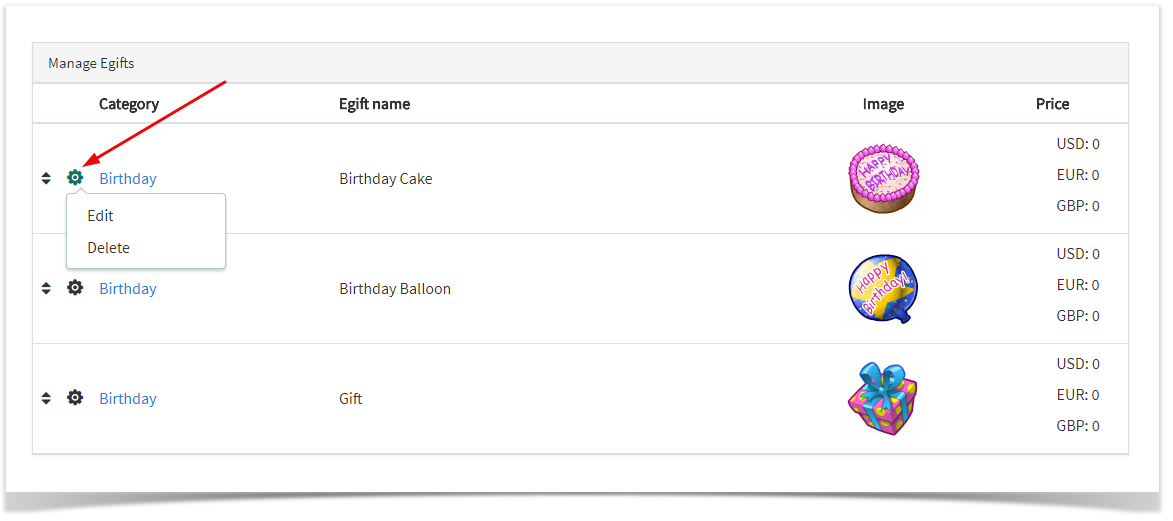
Managing E-Gifts
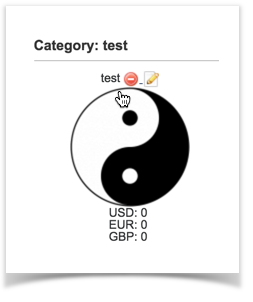
When in the Add Egifts section from above, scroll down to the already added Egifts and scroll the mouse over the image. You will see Delete - icon and Edit pencil and paper icons.
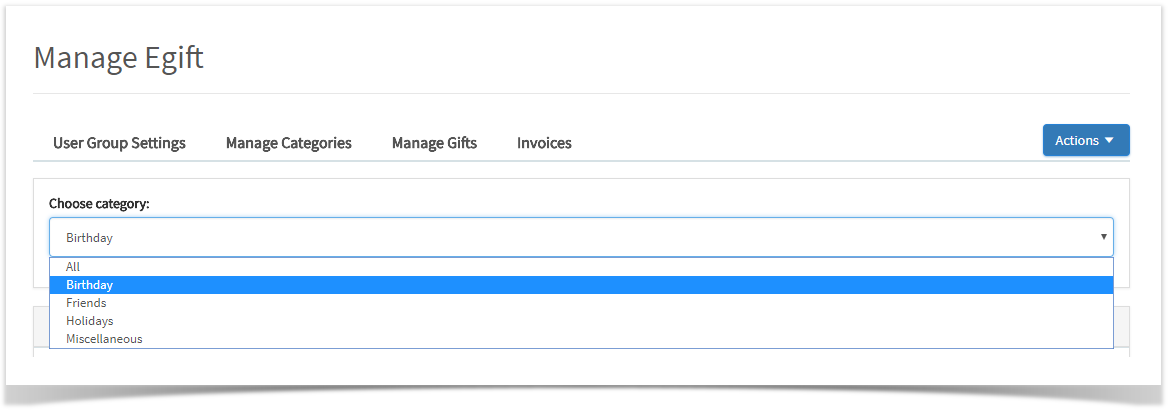
- In Manage Egift, choose the category you'd like to manage.
- Select the setting icon to edit or delete the specific e-gift