Assume that your server already meets MetaFox System Requirements. In this article, we will walk you through the steps to properly install MetaFox on a normal server (Apache2, PHP, and MySQL).
In general, installing MetaFox includes following steps:
- Upload MetaFox source on your server
- Configure proper permissions of folders
- Create database and database user
- Proceed installation
- Set up cron
Upload MetaFox source on your server
You can download the zip file of the latest MetaFox version in Client Area. Extract the zip file you will see the following source structure at the top level
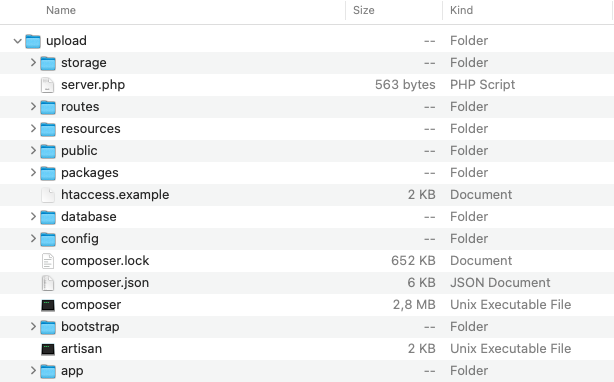
Then, upload ALL folders and files under the upload folder to the webroot folder of webserver. Normally, the webroot folder of your server usually has name public_html.
- If you aren't sure where is the webroot folder, you should ask your hosting provider or system administrator.
- To avoid unexpected issues when uploading source files onto the server, it is highly recommended to upload the zip file on your server and then extract source files to the webroot folder.
If you are using webserver Apache2, rename the htaccess.example to .htaccess
Configure proper permissions of folders
You will need to grant the write permission on the following folders:
- storage/* (recursively)
- public/* (recursively)
- bootstrap/cache/* (recursively)
- config/* (recursively)
Create database and database user
Create database and database user for MetaFox site. All web hostings support tools to create database and database user quickly.
You should grant full permissions on the database for database user. You need to have the following details when completing this step:
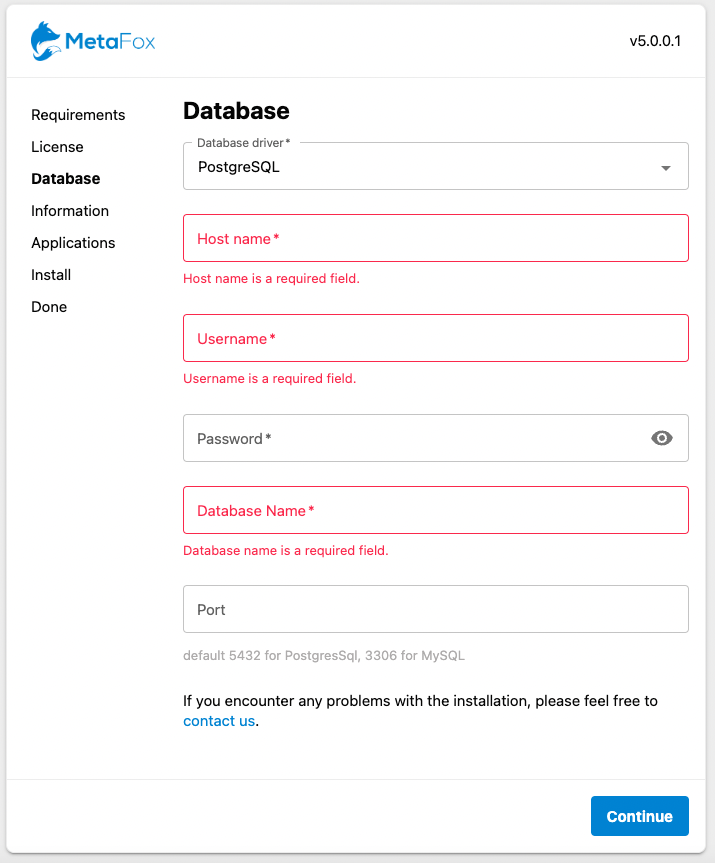
- Database Host (if database is on the same server, the host will be localhost)
- Database Name
- Database User
- Password
- Port (default 3306 for MySQL)
Proceed installation
MetaFox can be installed with either Docker or LAMP server. Before starting, you will need to complete all preparation steps for Installation with either Docker or LAMP server.
Now, we will walk you through the steps to properly install MetaFox with MetaFox Installation Wizard
Assume that your webserver has been set up with the domain yourdomain.com. You can visit the Installation Wizard at the link: https://yourdomain.com/install/
Follow installation steps and input all required info in the Installation Wizard to complete the installation:
- System Requirements: Please make sure that all items under System Requirements have green checks as below.

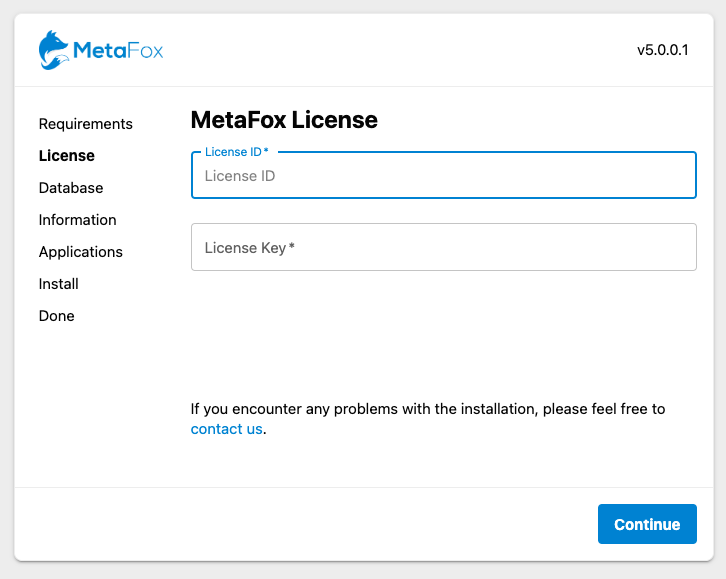
- License Key and Private Key: You can get the license info within Client Area. Note that your license domain will be verified at this step also.
- Database credentials (from the previous step)
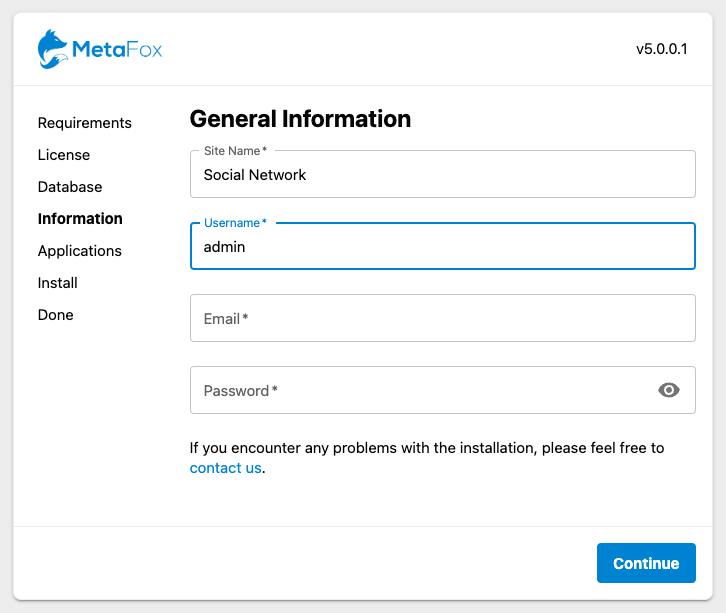
- Site Name
- Default Admin credentials: : At this step, you will fill in all database credentials that you have created during the preparation steps.
- Site Info: You are going to fill in info of Site Name and the Super Administrator user (username, email address and password) in this step.
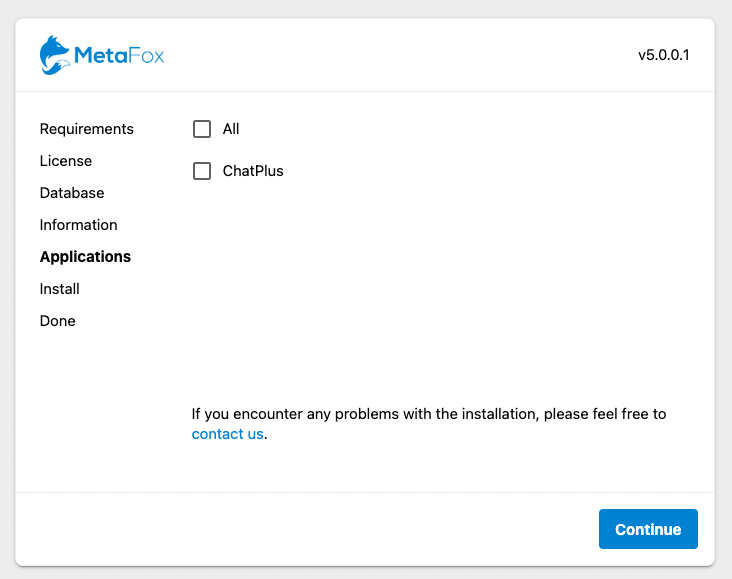
Applications: If you have purchased apps on the Appstore, such as ChatPlus, etc. you can select those apps to install at this step
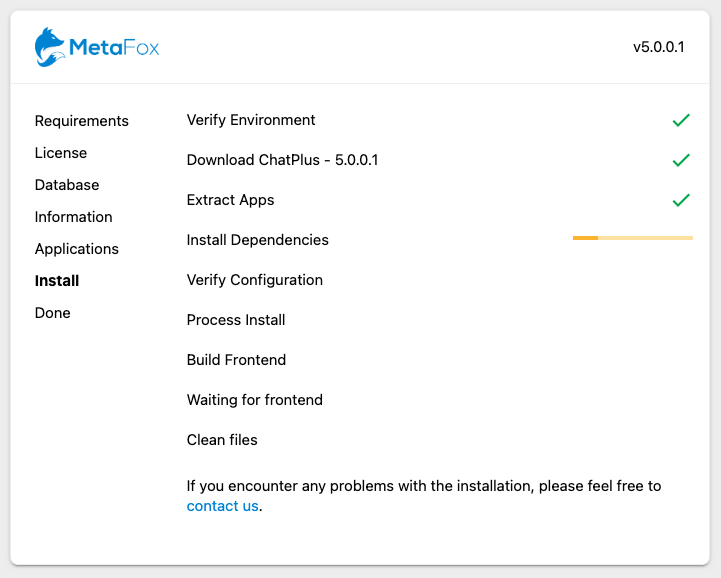
After all info is given properly, you can proceed the last step to install MetaFox site.
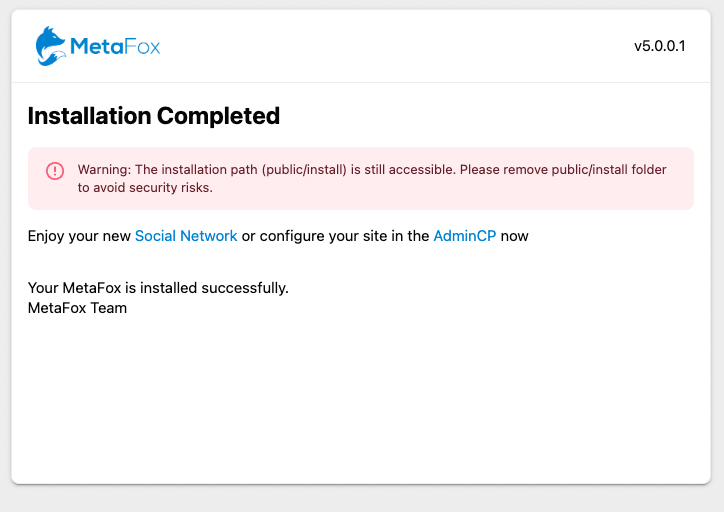
Done: When installation is completed successfully, you will see this screen
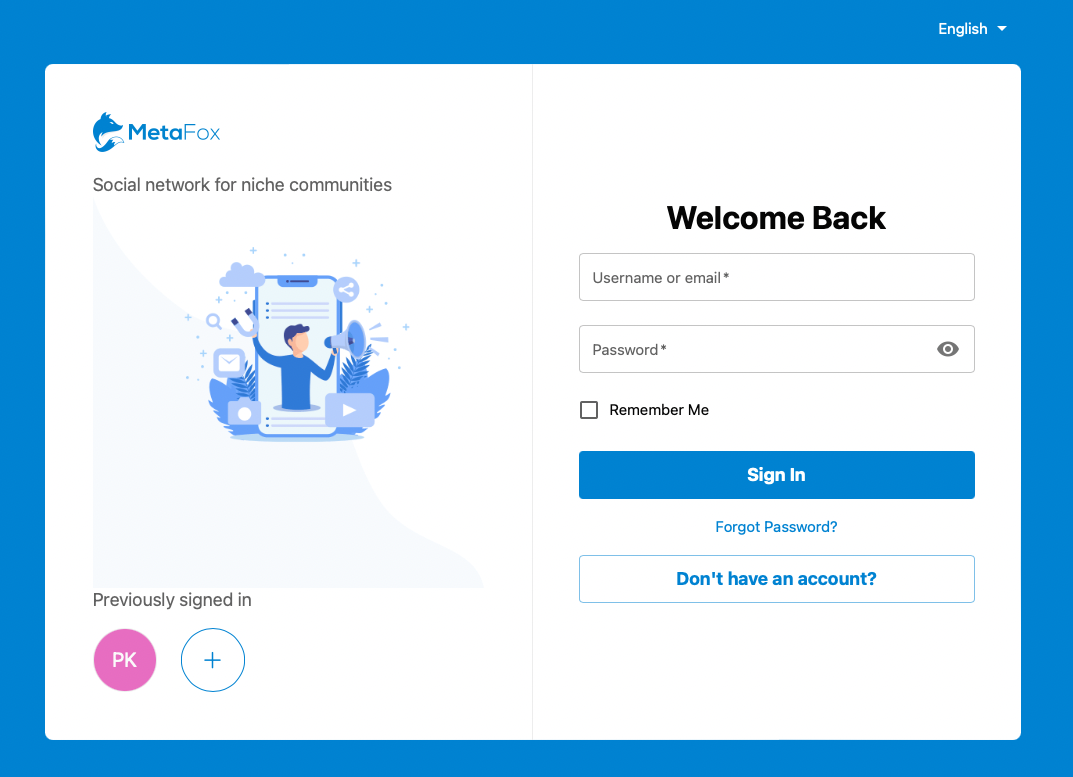
Now, going to the Landing page at the main URL, you should see the default Landing page of MetaFox
| Info |
|---|
After the installation is completed, you should remove the public/install folder to avoid security risks. |
Setup Cron
Many features require cron to work. Please configure 2 two following crons running every minute. You can get the cron command in AdminCP > Settings > Schedule page
Cron for Schedule runs every minute
| Code Block |
|---|
php path_to_webroot/artisan schedule:run > /dev/null 2>&1 |
Cron for Queue runs every 5 minutes
| Code Block |
|---|
php path_to_webroot/artisan queue:work --stop-when-emptymax-time=300 > /dev/null 2>&1 |