This guide will help you through the upgrade process of phpFox v4 or higher.
Downloading
Download the latest version of phpFox from here.
Once you have downloaded and unzipped the package, you should see something like this…
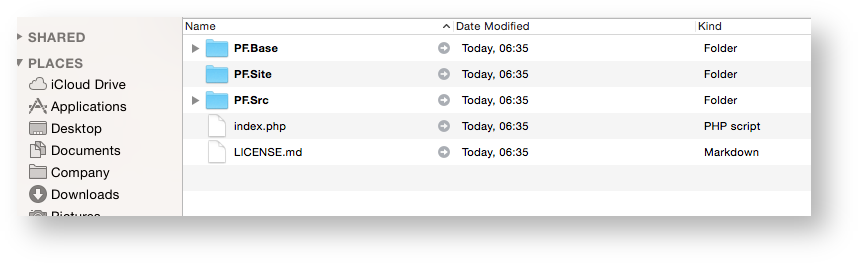
You are to upload those files and folders to your sites root directory.
Hint: If you have cPanel you will have a File Manager that has an Unzip feature. You could ZIP up those files/folders and upload the one ZIP file. Then unzip it on your server.
Folder Permissions
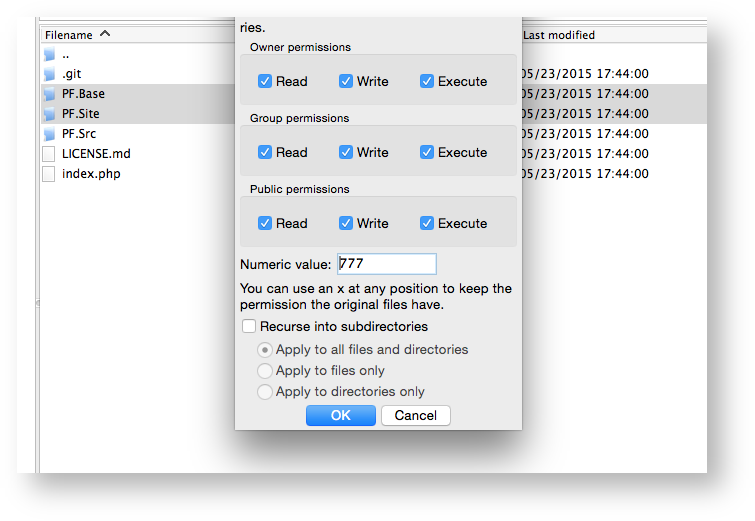
Once you have uploaded all the files/folders. You need to grant full read/write access (usually 0777) to the following 2 folders:
- PF.Base/
- PF.Site/
Note: Once you have completed the install you can return the permissions for the folder PF.Base back to what it originally was set to.
Web Upgrader
Fire up your web browser of choice and visit your site by going
http://www.yoursite.com/index.php?phpfox-upgrade=true
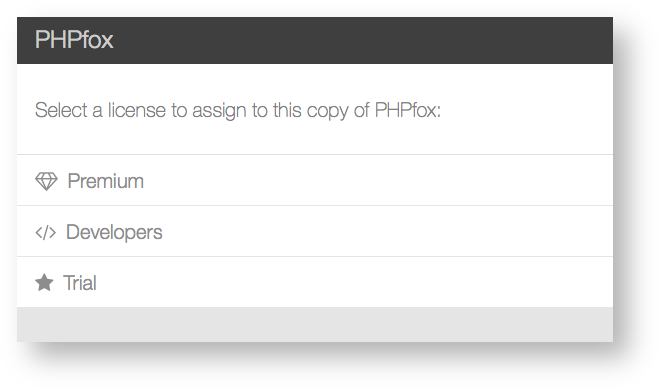
The first step of the web install, will be to select what type of license to re-assign to this copy of phpFox.
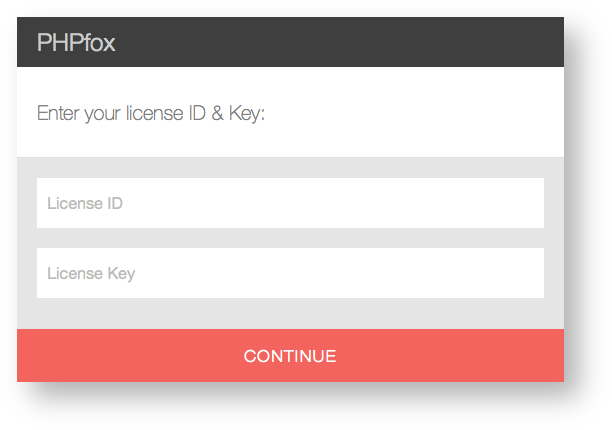
Enter your License ID & Key
The next step will require you to re-enter your phpFox License ID & Key. This is to prevent anyone from upgrading your site while it is offline.
Upgrade Process
After you have successfully entered your phpFox License ID & Key the Upgrader will run all the required updates to your database until it is completed.