Google Analytics is a freemium web analytics service offered by Google that tracks and reports website traffic. With the help of Google Analytics, you can have statistic on many aspects of your site such as traffic, locations, demographic, popularity... This article will guide you to integrate Google Analytics to your site.
Join Google Analytics and Get tracking code
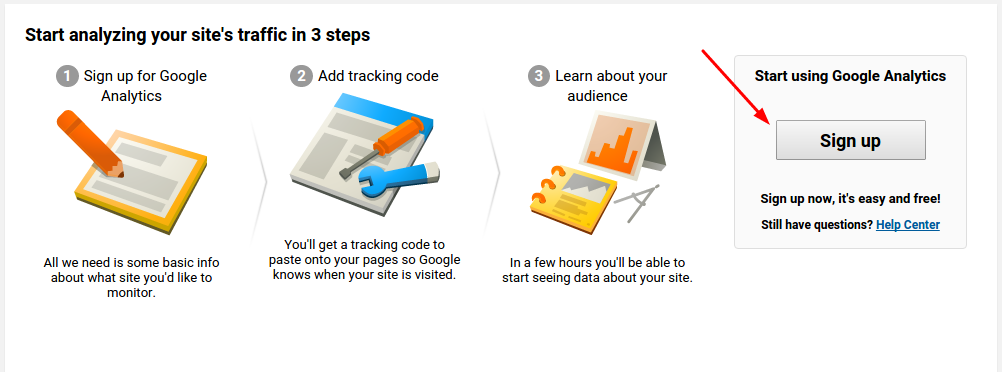
First you need to join Google Analytics (GA) program, go here, scroll down and select Sign up for free on Google Analytics section.
New page will shows up, select Sign up to begin.
Fill out information for your site.
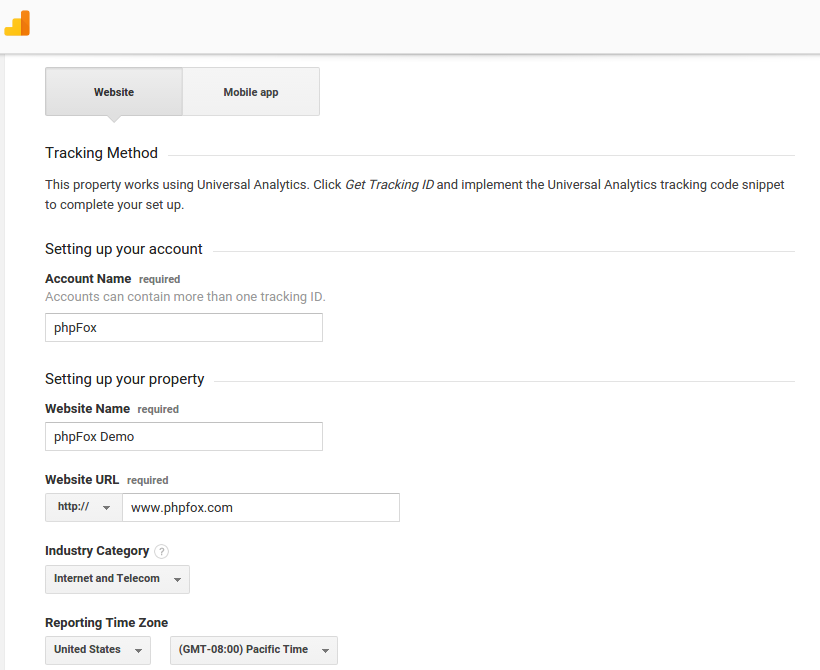
Google Analytics offers hierarchies to organize your account. You can have up to 100 Google Analytics accounts under one Google account. You can have up to 50 website properties under one Google Analytics account. You can have up to 25 views under one website property.
Beneath this, you will have the option to configure where your Google Analytics data can be shared.
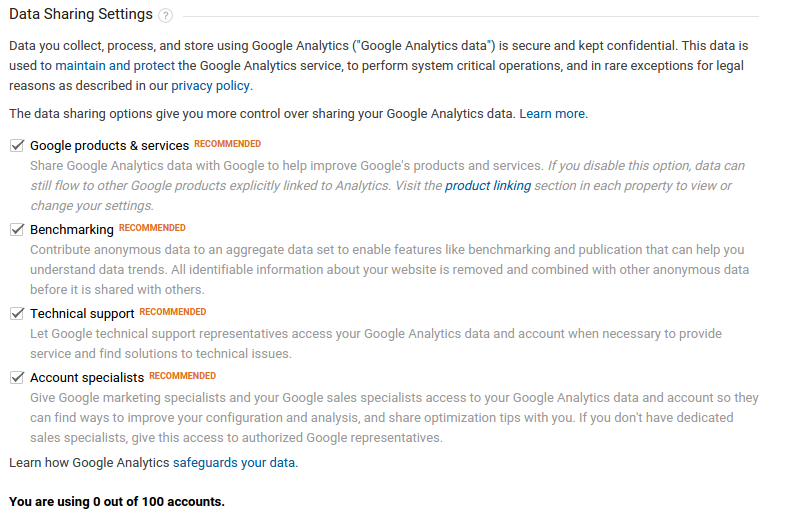
Select Get tracking ID button to proceed. You might need to accept some ToS to continue and get the code in next page.
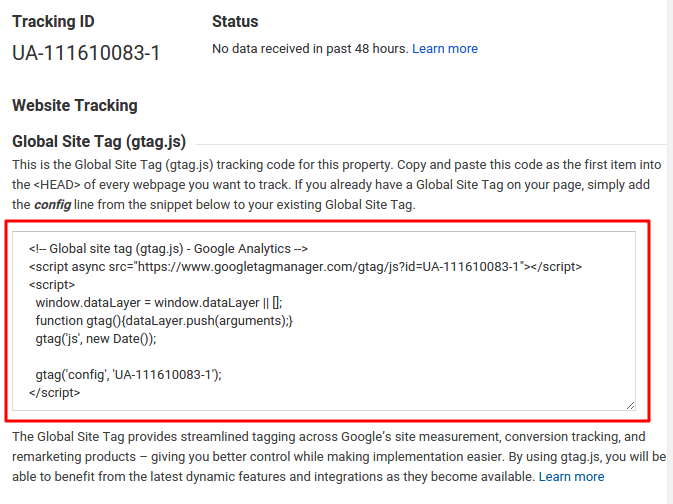
Once you have the code, note it down.
Creating Ads in AdminCP
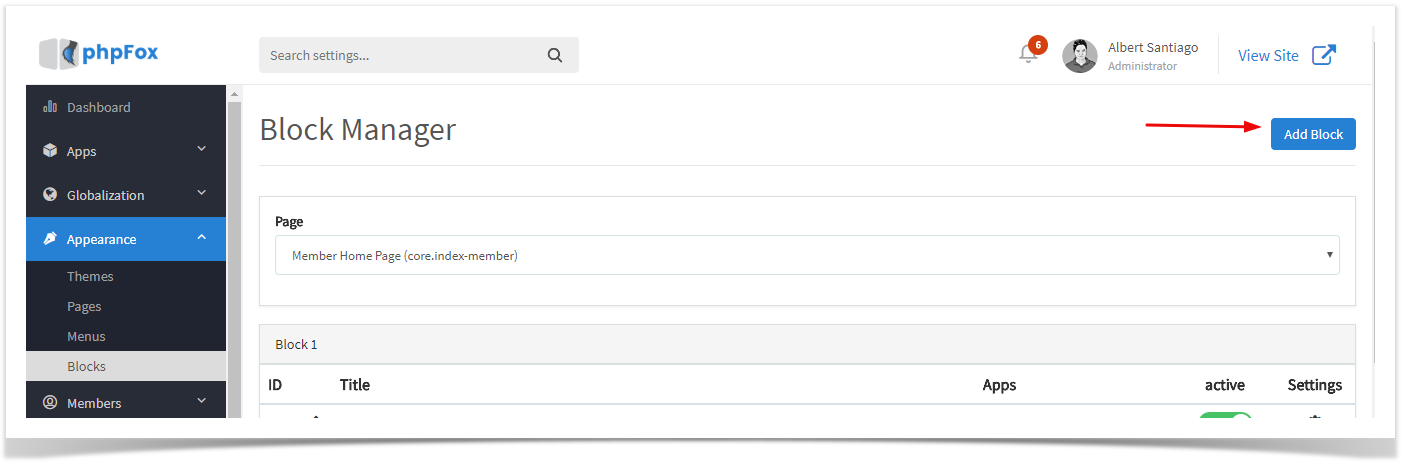
As an Admin you can create HTML based ads directly from your AdminCP by creating a new block, select Add Block a choosing HTML Code as the block type.
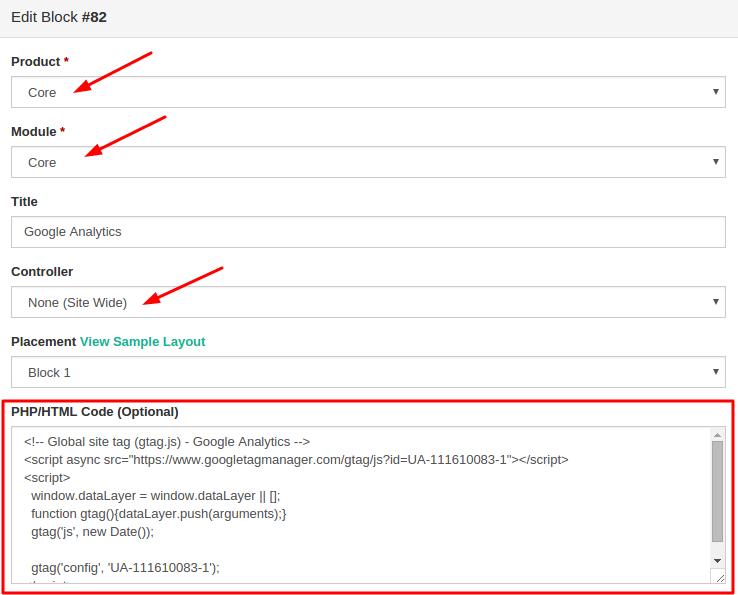
Place the Google Analytic HTML code in the code input area for the new block and set the location (where on the page you want it) and choose Controller (which page should it show on). For our screenshot below Google Analytics code is added. We chose Sitewide as the controller as we want it all over the site.
From now on, your site will be tracked with Google Analytics.