This tutorial will show you how to create or edit a menu for your website. This assumes you are already logged in with the Admin user and are logged into the AdminCP.
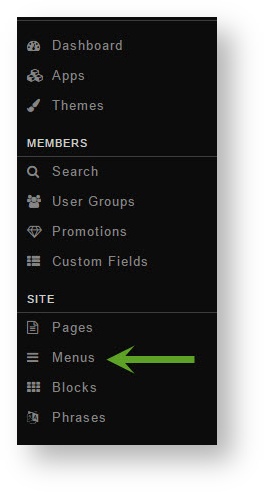
- Click Menus
- Click Add Menu in the top right of the screen

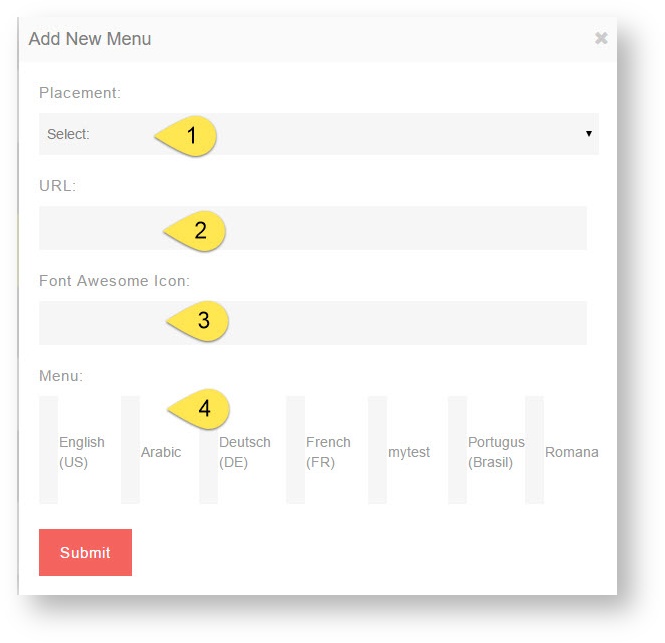
- In the popup, select:
- Placement (Main menu or footer menu)
- URL put the full url to the page you want this menu to go to. (Example: http://google.com or http://yoursite.com/blog/blog_id#/title)
- If you want this menu to have an icon (for themes that offer this), enter the font awesome icon . For example, if we want a Book icon we would enter fa-calendar here.
- Next, our image shows we have several language packs and so we have to put a menu name for each one or our menu will show up blank on the front end. Enter the name of your menu for each language you have installed.
- Click Submit when done and clear cache after.