This guide will help you through the upgrade process of phpFox v4 or higher. This is also for upgrading from phpFox v3 Nebula. If your version is below v3 Nebula, you'll need to first upgrade to that version before upgrading further.
Important
Always check with third party developers of any apps, themes, modules or language packs before upgrading and note that most third party products don't work from one major version (v1, v2, v3, etc) to a new version. Even minor upgrades can have issues for third party products so always check first.
Tip
Backup your site files and database before upgrading. This will help in case there is an issue with the upgrade (not common but can happen) such as faulty file upload, server glitch, internet issues, etc.
If you made a custom theme with edits and customizations in V4, you will want to export that theme (provided you have at least v4.1.2 installed already). Make sure not to delete the custom theme you made. You will be able to merge the theme in the 4.2.1 build 5 and up version.
Downloading
Download the latest version of phpFox from here.
Once you have downloaded and unzipped the package, you should see something like this…
You are to upload those files and folders to your sites root directory.
Hint: If you have cPanel you will have a File Manager that has an Unzip feature. You could ZIP up those files/folders and upload the one ZIP file. Then unzip it on your server.
Folder Permissions
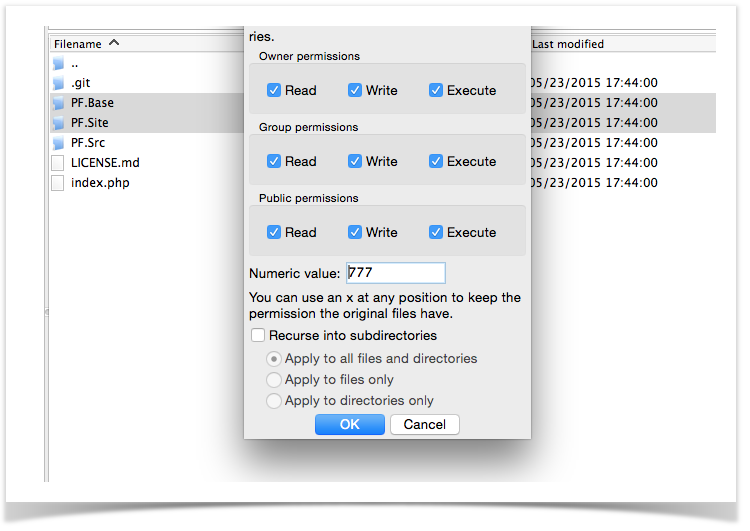
Once you have uploaded all the files/folders. You need to grant full read/write access (usually 0777) to the following 2 folders:
- PF.Base/
- PF.Site/
Note: Once you have completed the install you can return the permissions for the folder PF.Base back to what it originally was set to.
Important
Unless the blog instructions or our forum posts say to run the full upgrade routine, the next steps are not needed to upgrade builds (v4.1.2 build 4 to v4.1.2 build 5 for example). If upgrading a build, please skip the next steps and simply visit your site and clear cache. Remember, you must still run the next steps if we say a full upgrade is required.
Web Upgrader
Fire up your web browser of choice and visit your site by going
http://www.yoursite.com/index.php?phpfox-upgrade=true
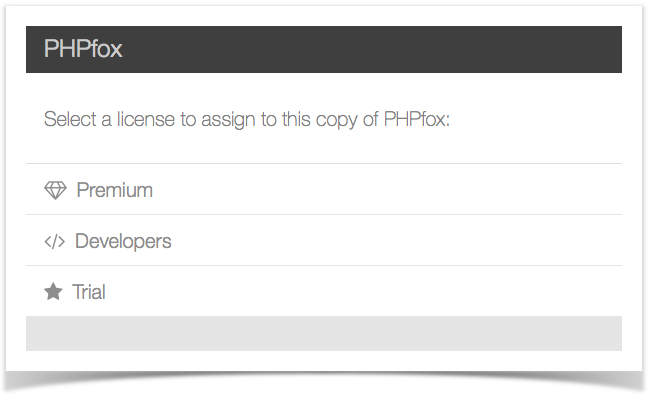
The first step of the web install, will be to select what type of license to re-assign to this copy of phpFox.
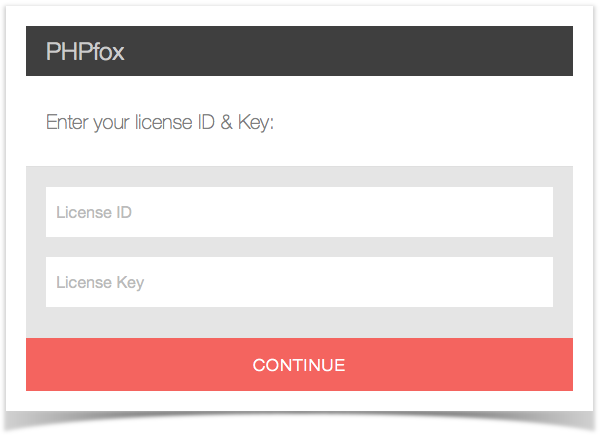
Enter your License ID & Key
The next step will require you to re-enter your phpFox License ID & Key. This is to prevent anyone from upgrading your site while it is offline.
Upgrade Process
After you have successfully entered your phpFox License ID & Key the Upgrader will run all the required updates to your database until it is completed.
Finishing Up
Once you've logged into your site after upgrading, you'll need to do the following in order to bring in template fixes/changes, new phrases and new settings.
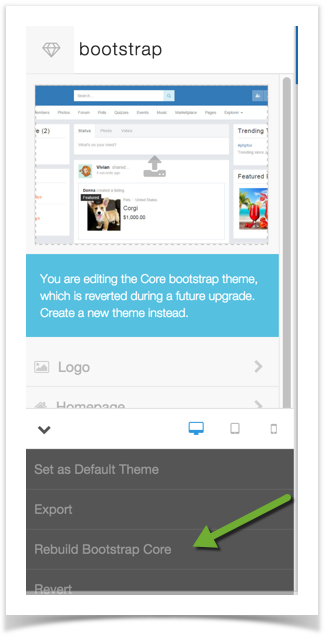
Run Rebuild Bootstrap Core routine.
This will delete any changes made to the default Bootstrap theme. Be sure you are never editing this theme. Always make a clone of it and edit that instead as this routine must be run on each upgrade.- Go to Themes and select Bootstrap and click to Edit it.
- On the left menu, at the bottom, click to see the options and select Rebuild Bootstrap Core.
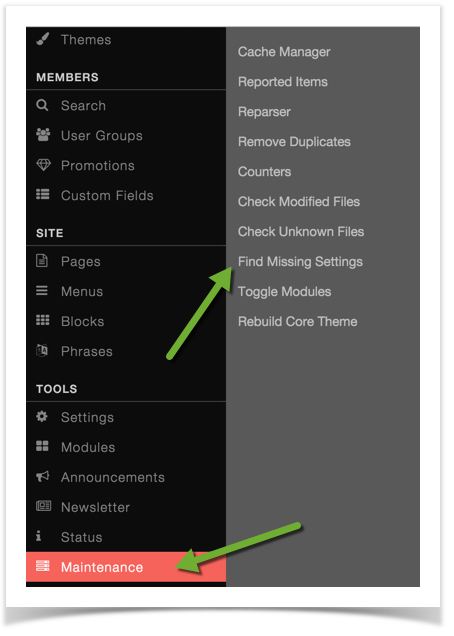
- Run Find Missing Settings in AdminCP >> Maintenance.
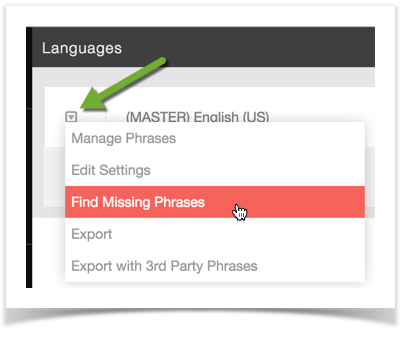
- Run Find Missing Phrases in AdminCP >> Settings >> Language and click to the left of the default English language to run this.
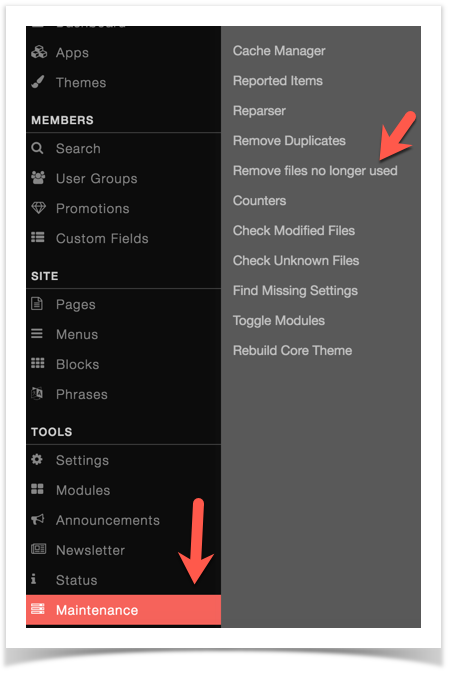
- Now go to AdminCP >> Maintenance >> Remove Files No Longer Used
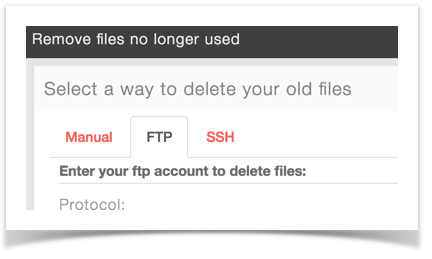
- You will have options to choose from for this. You can manually do them, use FTP, or use SSH:
- Once you select a method, if FTP or SSH, be sure to click Check Permission and Remove Files. It will then run the process and remove the old files for you.

