Important!
For V4 versions below the v4.2 stable release that includes a new theme manager. If you have the theme manager (v4.2 stable and up), don't do these steps. If your version doesn't include the Homepage feature shown, please upgrade your site to a more current release.
This tutorial will show you how to change the visitor background image for your website. This assumes you are already logged in with the Admin user and are logged into the AdminCP.
Important Tip
Though these tutorials show editing default phpFox themes, we recommend you make your own theme based on the default and then edit your own. This will preserve the default files in case you need to get support (which is void if default phpFox files are edited) or if you need to Revert Theme for upgrading which is required in order to get updated theme code.
Using an Uploaded Image for Bootstrap Theme
- Make sure you've uploaded an image to your server or image hosting place. This tutorial, we have created an images folder on our server and uploaded a banner.jpg image.
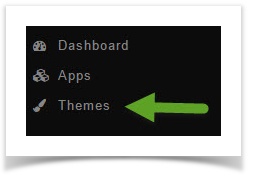
- Click Themes
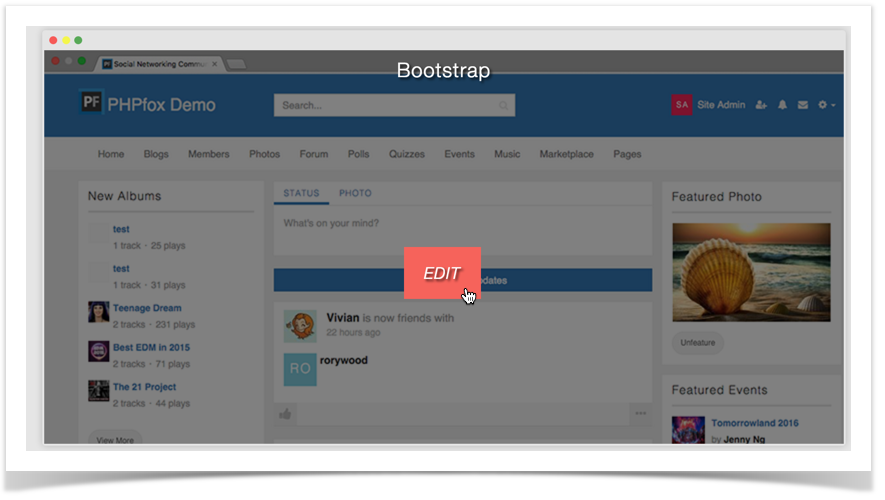
- You'll see screen shots of various themes that you've installed to the right and if you hover your mouse over the Bootstrap theme, you will see an Edit button. Click Edit. (Once we have the feature for you to make a theme from Bootstrap, we recommend for you to work on your own custom theme to preserve the default themes in case you need to revert them for upgrades)
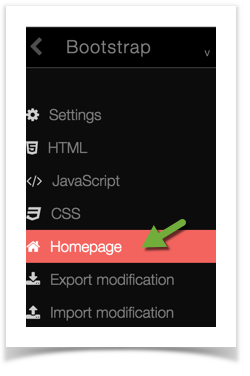
- Once you've opened the theme edit screen, click Homepage.
- On the right you will see the default code. You'll need to change that code. A good way to do this is to copy it to a line below the original and then comment out the original code. This way, you can easily change it back if you don't like the results just by deleting your new code and uncommenting the original. Here's how we did it. Copy this code:
Original
<div class="image_load parent-block" data-apply="row_image" data-src="{$image.image}"></div>
to line 2 or below that. Comment the top line (you will see how we did it in the example). Commenting the line hides it from displaying and is ignored by the script. It would now look like this:
New code
<!--<div class="image_load parent-block" data-apply="row_image" data-src="{$image.image}"></div>-->
<div class="image_load parent-block" data-apply="row_image" data-src="{$image.image}"></div>
- Now that you have the code copied, change the second line so that the data-src points to where your image is hosted. If it is on your server, like our example is, you would not need the full url. Since ours is in an /images folder in our public_html folder on our server, we would put it as the next example shows:
Final
<!--<div class="image_load parent-block" data-apply="row_image" data-src="{$image.image}">-->
<div class="image_load parent-block" data-apply="row_image" data-src="./images/banner.jpg"></div>
- Hit Command + s if using a Mac, or CTRL + s if using a PC to save the changes.
Using an Uploaded Image for Neutron Based Themes
- Make sure you've uploaded an image to your server or image hosting place. This tutorial, we have created an images folder on our server and uploaded a banner.jpg image.
- Click Themes (See Image 1)
- You'll see screen shots of various themes that you've installed to the right and if you hover your mouse over the Neutron theme, you will see an Edit button. Click Edit. (See Image 2)
Once you've opened the theme edit screen, click Homepage. (See Image 3)
- On the right you will see the default code. You'll need to change that code. A good way to do this is to copy it to a line below the original and then comment out the original code. This way, you can easily change it back if you don't like the results just by deleting your new code and uncommenting the original. Here's how we did it. Copy this code that you see on your site:
Step 1
<div id="main-banner">
<div class="image_load" data-src="{$image.image}"></div>
<div class="image_info">
{$image.info}
</div>
</div>
to line 13 or below that. Comment the top code (you will see how we did it in the example). Commenting the code hides it from displaying and is ignored by the script. It would now look like this:
Step 2
<!--{*
{if isset($featured.server_id)}
<div id="main-banner">
{img server_id=$featured.server_id path='photo.url_photo' file=$featured.destination suffix='_1024'}
</div>
*}
<div id="main-banner">
<div class="image_load" data-src="{$image.image}"></div>
<div class="image_info">
{$image.info}
</div>
</div>-->
<div id="main-banner">
<div class="image_load" data-src="{$image.image}"></div>
<div class="image_info">
{$image.info}
</div>
</div>
Hit Command + s if using a Mac, or CTRL + s if using a PC to save the changes.
- Now that you have the code copied and the top code commented, change the line, line 14 in our code above, so that the data-src points to where your image is hosted. If it is on your server, like our example is, you would not need the full url. Since ours is in an /images folder in our public_html folder on our server, we would put it as the next example shows. You can also see that we changed line 16 in our code to add a line of info for the image:
Final Step
<div id="main-banner">
<div class="image_load" data-src="./images/banner.jpg"></div>
<div class="image_info">
Great Image!
</div>
</div>
If you want the front image to cycle through various featured photos on your site, this is how to do that.
- First, make sure the user you are logged in with can feature photos. It might be a good idea to make only specific user groups, such as Admin and Staff, able to feature photos as any featured photos will show on the visitor page.
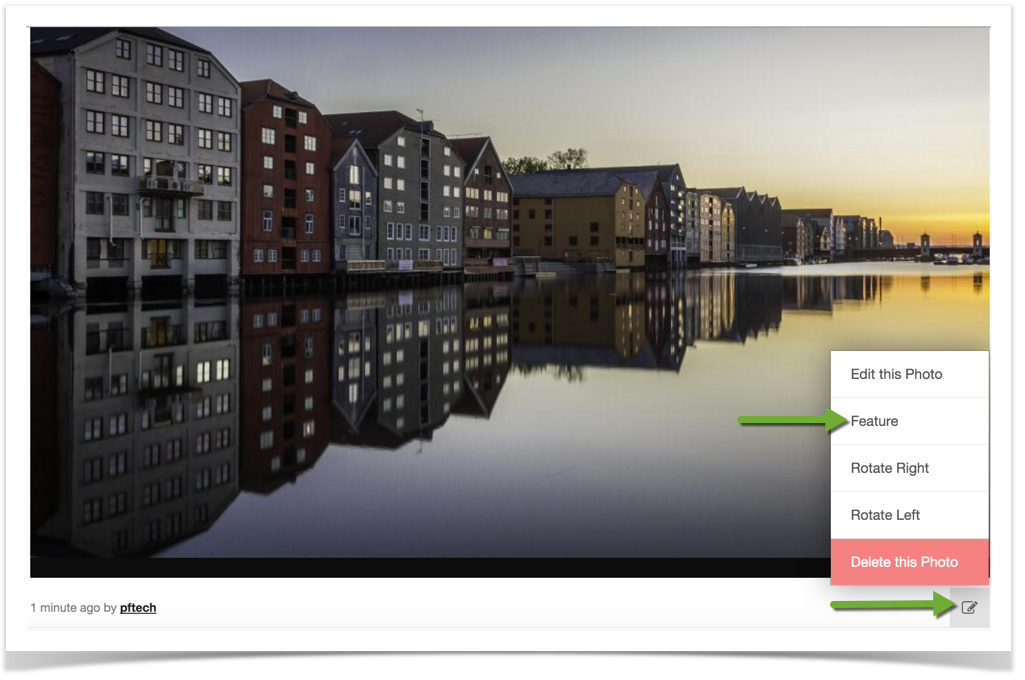
- Go to your photo section (yoursite.com/photo or if not using short urls, yoursite.com/index.php/photo) and click on the image you want to make featured.
- Click the Edit icon and select Feature Photo.
- The photo and title will show on the visitor home page for Neutron based themes and for Bootstrap it will just show the photo.
Tip
Be sure to clear your site's cache after changing things in themes.


